Skip navigation

Tag Archives: construction

We started a new rec cabin this week. It’s been a long break but I’m back.

This is a 14’×20′ on a picturesque lot overlooking Island Lake.

It’s always exciting to start a new project.

Beams and floor joists on techno metal posts.
Subfloor down.
Temp stairs, door framed and first two logs laid.

Hoping to end the week with three courses of logs done. We’ll see how tomorrow goes!

#aklife

#shebuilds

#winterwork

We’ve been working on our upstairs bathroom. It’s been partially out of service (the toilet) since early March when we had a smallish fire in the bathroom trash. Thank goodness for keeping fire extinguishers in our home! And for being home due to covid-19 shutdown!

Trashcan fire damage.

We had some drywall repair to do and let’s face it, neither one of us likes to do drywall. So it has been waiting on us to finish it. And finally we’re back to it. I’m tired of only one toilet in the house with 6 people!!

The meantime I’ve been sourcing materials as they go on sale or clearance. So when we were ready we could do the reno for less $$.

Beginning the drywall repairs.

Dean started sanding & applying more mud while I started to strip down the map decoupaged vanity top. I scored the surface and used some fabric softener mixed with water to loosen the paper. Most of it scraped right off after soaking for a while. The rest got a light sanding and then I wiped down the surface with a damp rag.

Next was fitting the tile to the vanity top. I rough cut the tile to fit, now I need to trim the edge pieces to fit the tile into place. I had intended to use penny tile, since it would be easy to fit and no cutting needed. The colors Home Depot had just weren’t right though, and this hex tile was perfect. Plus it was on clearance so I got a bargain deal on all the tile for about $13. Now I’ll be learning a new skill, cutting tile! Yippee!??!?

Rough fit tile.

Dean never has been fond of the dark taupe colored walls so we opted for a sage green color. With accents of beige tile, sable grout (bought on clearance for 10¢ a box!!) and one wood accent wall we hope to add interest to this unusually long, narrow, odd shaped bathroom.

#renonation

#updatedbathroom

#diyAK49

Last October we began the process of buying the house we’ve been living in since 2014. It was an exhausting task to be sure. We had some things to do to satisfy the lender but we finally closed in late January 2020.

After signing our life away, we began the process of renovating to suit our large family and our lifestyle.

In no particular order…

We had our driveway regraded as it was super steep and on icy winter days our vehicles would slide right down to the bottom of our property.

We took out the large front window to create a main entry.

Girl’s room, they picked the color and scheme.

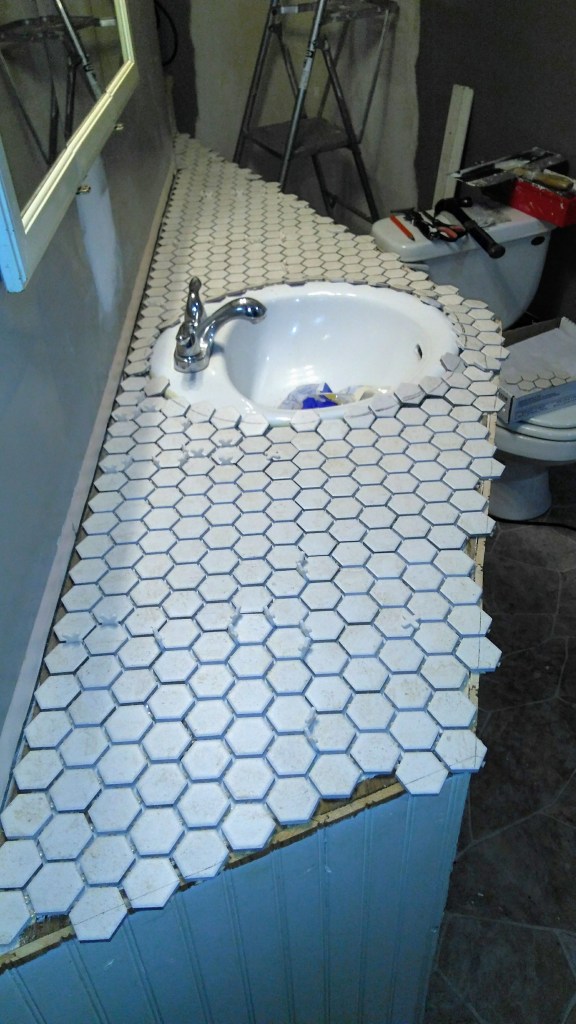
The main bath was a blank slate.

Framing the front entry hall/master bedroom wall.

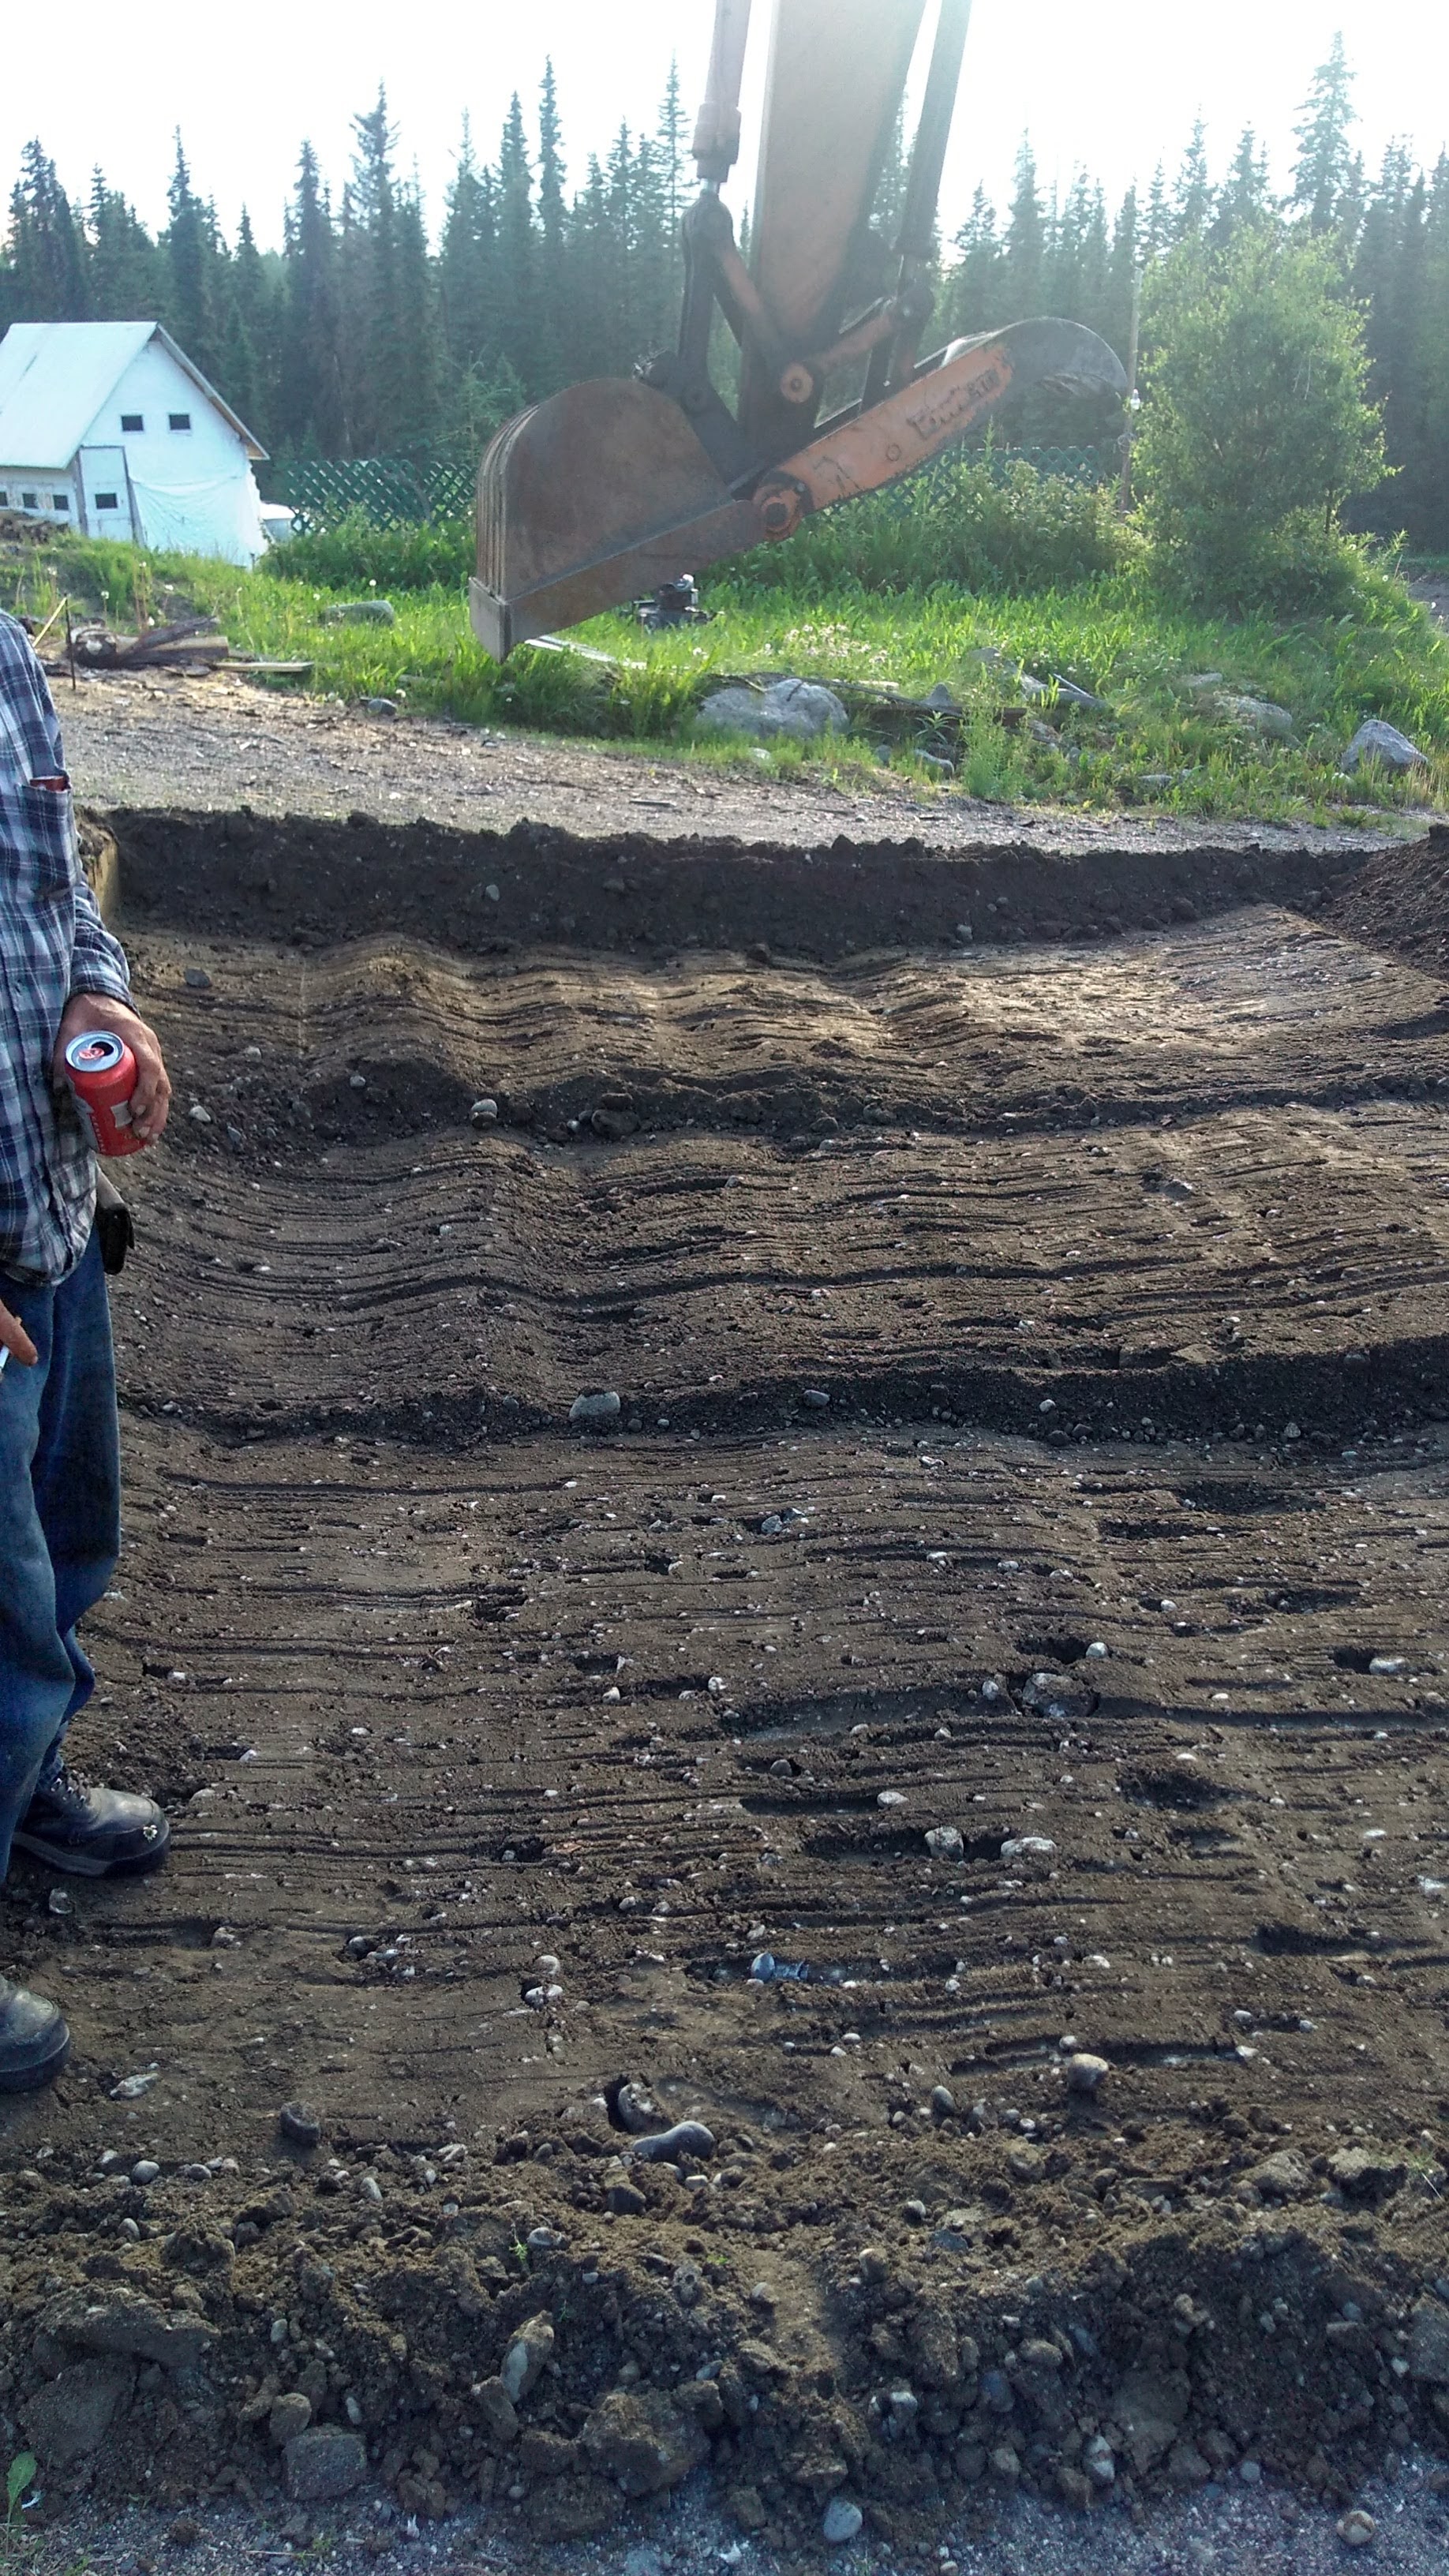
Jake grading the driveway.

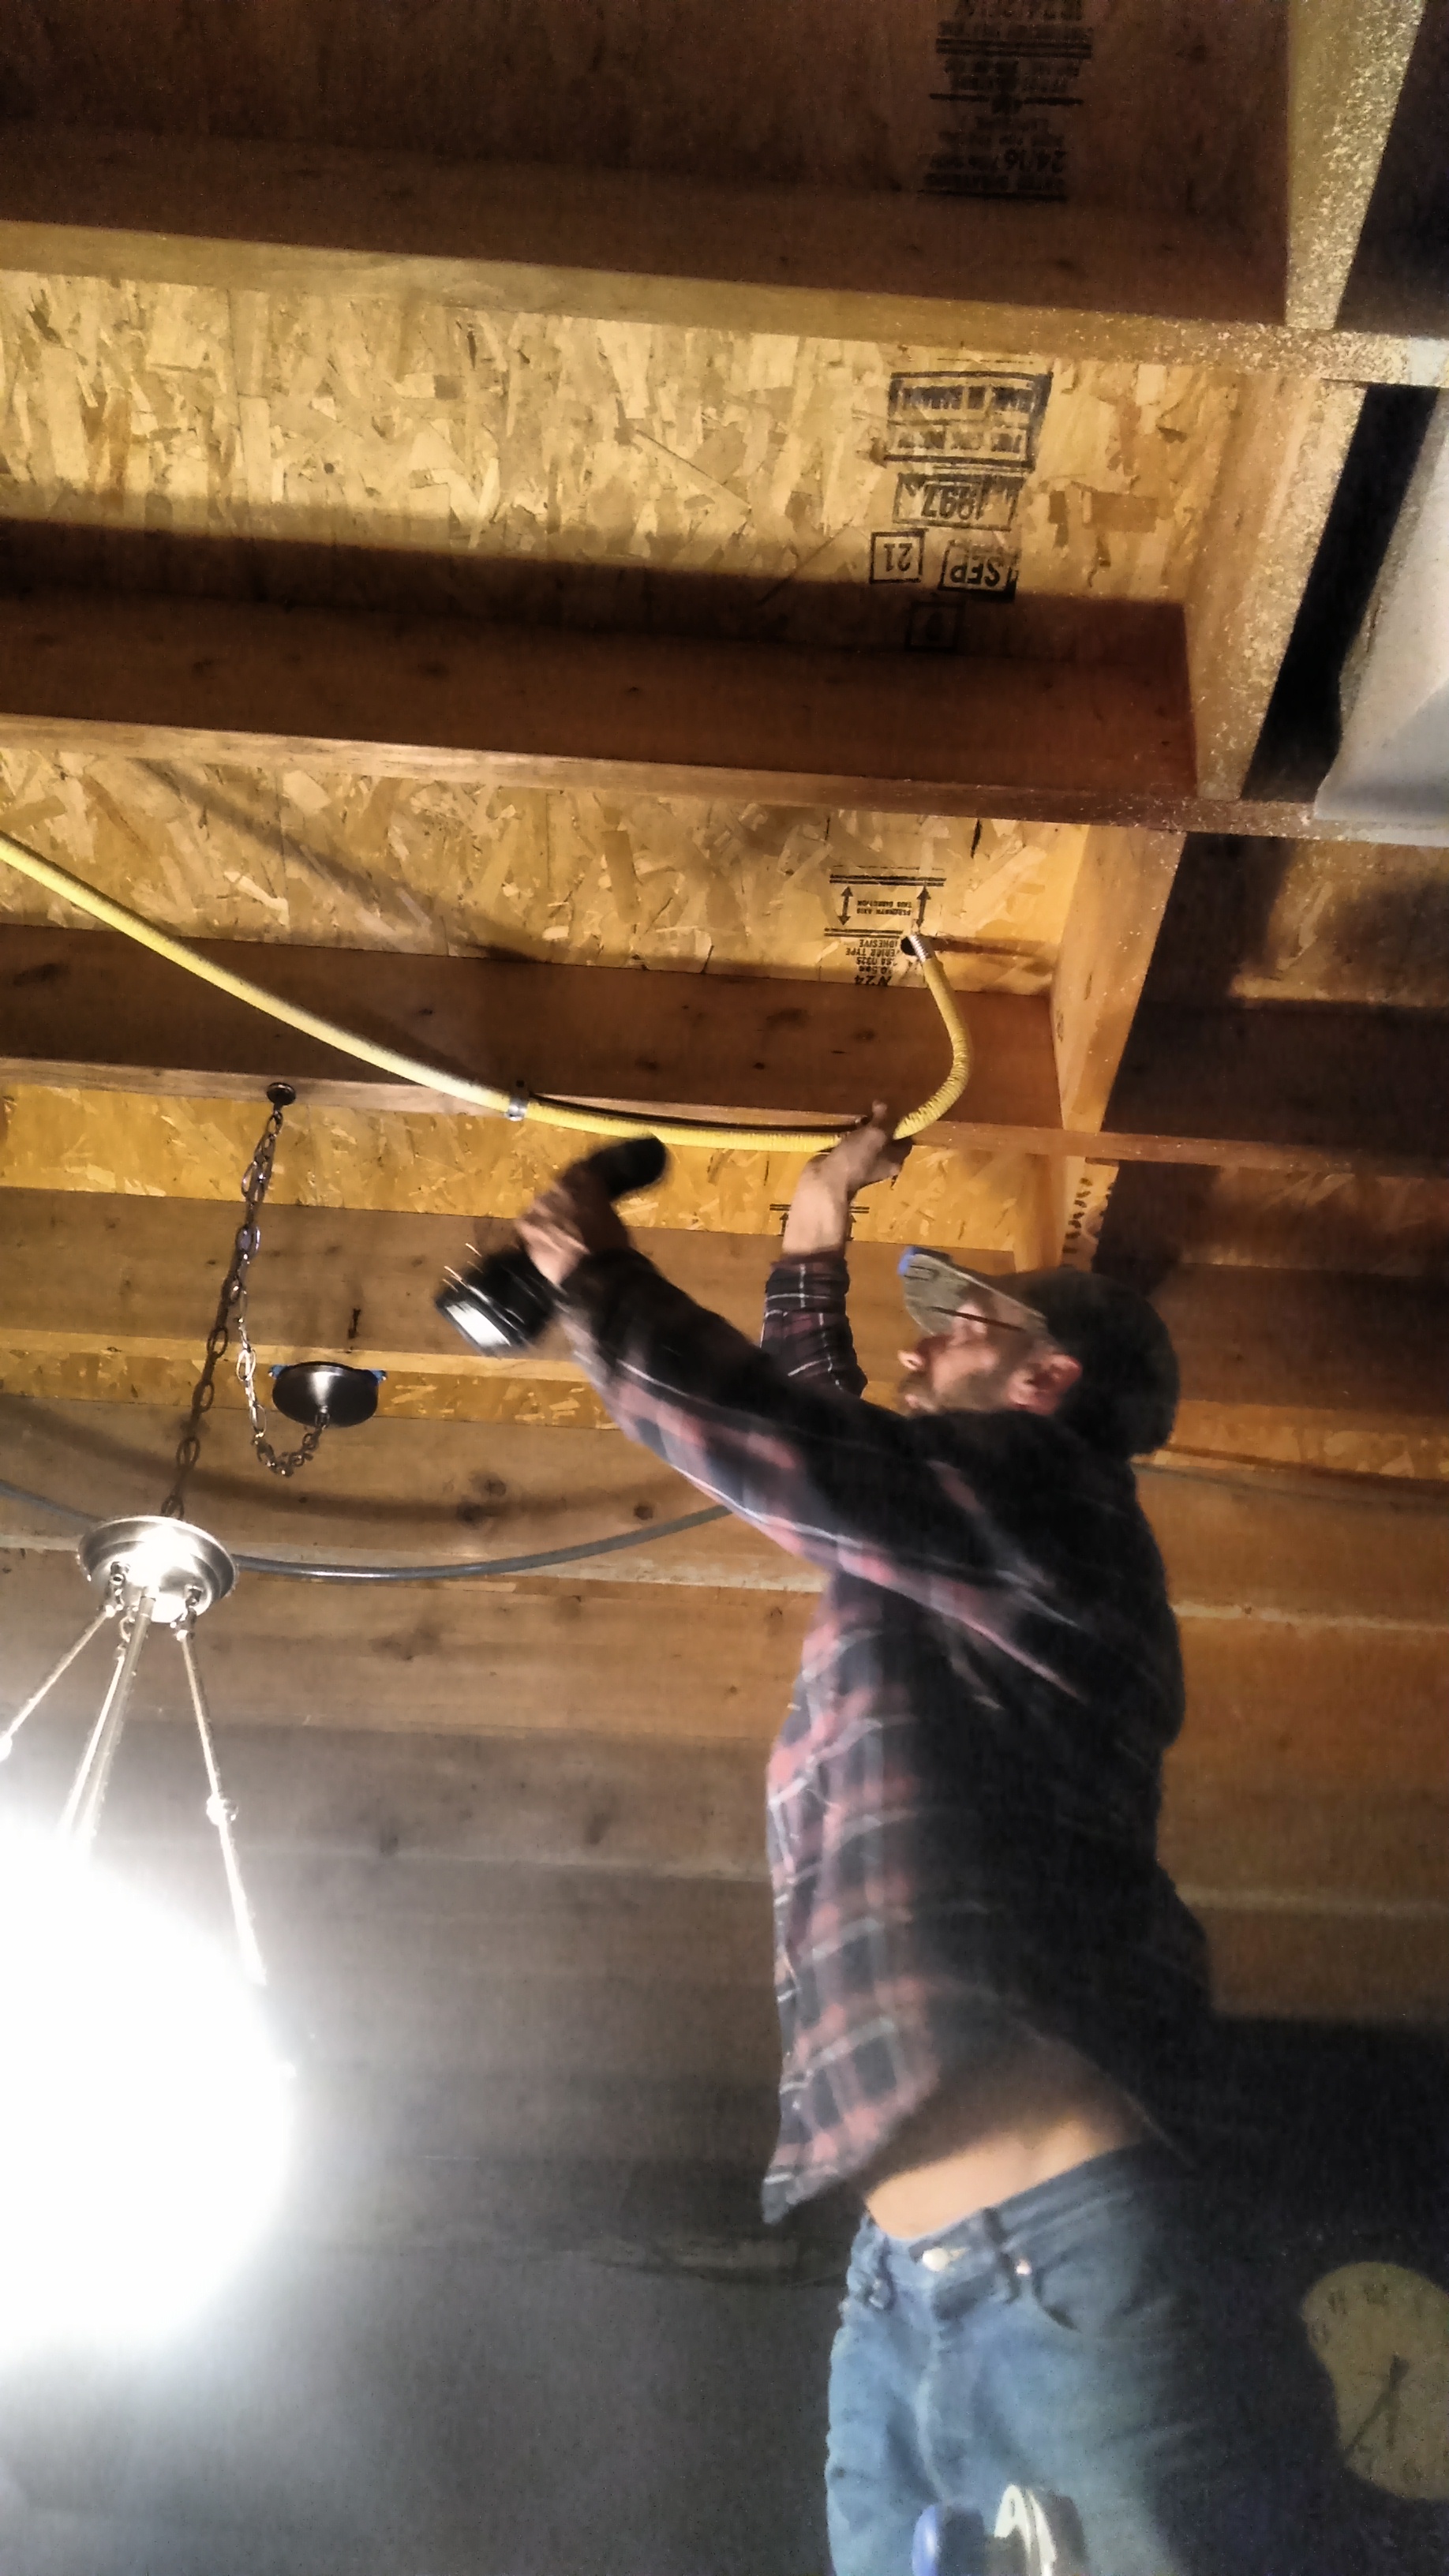
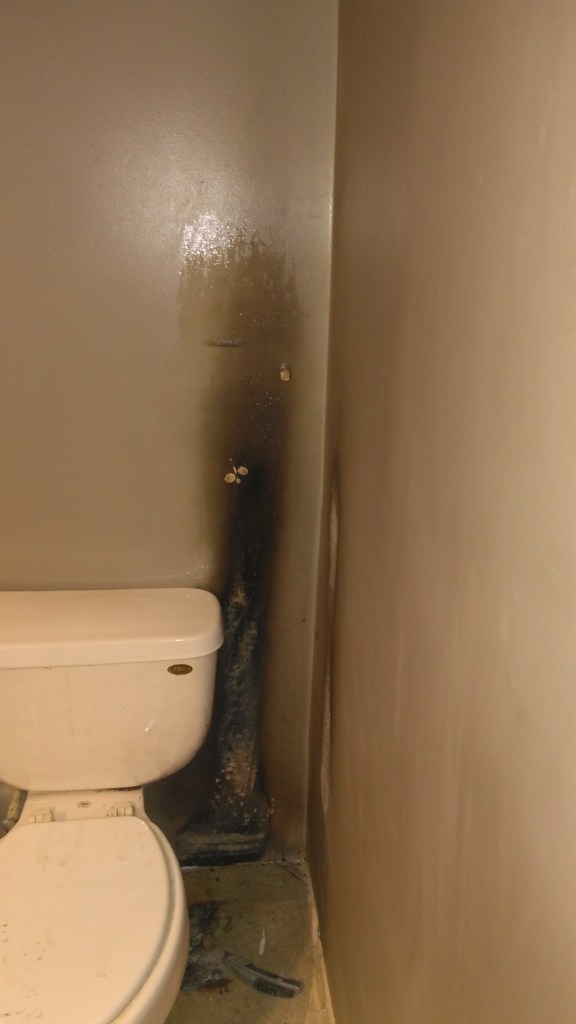
Dean moving the improperly installed gasline in the kitchen ceiling. There was a lot of this sort of thing. Major frustrations.
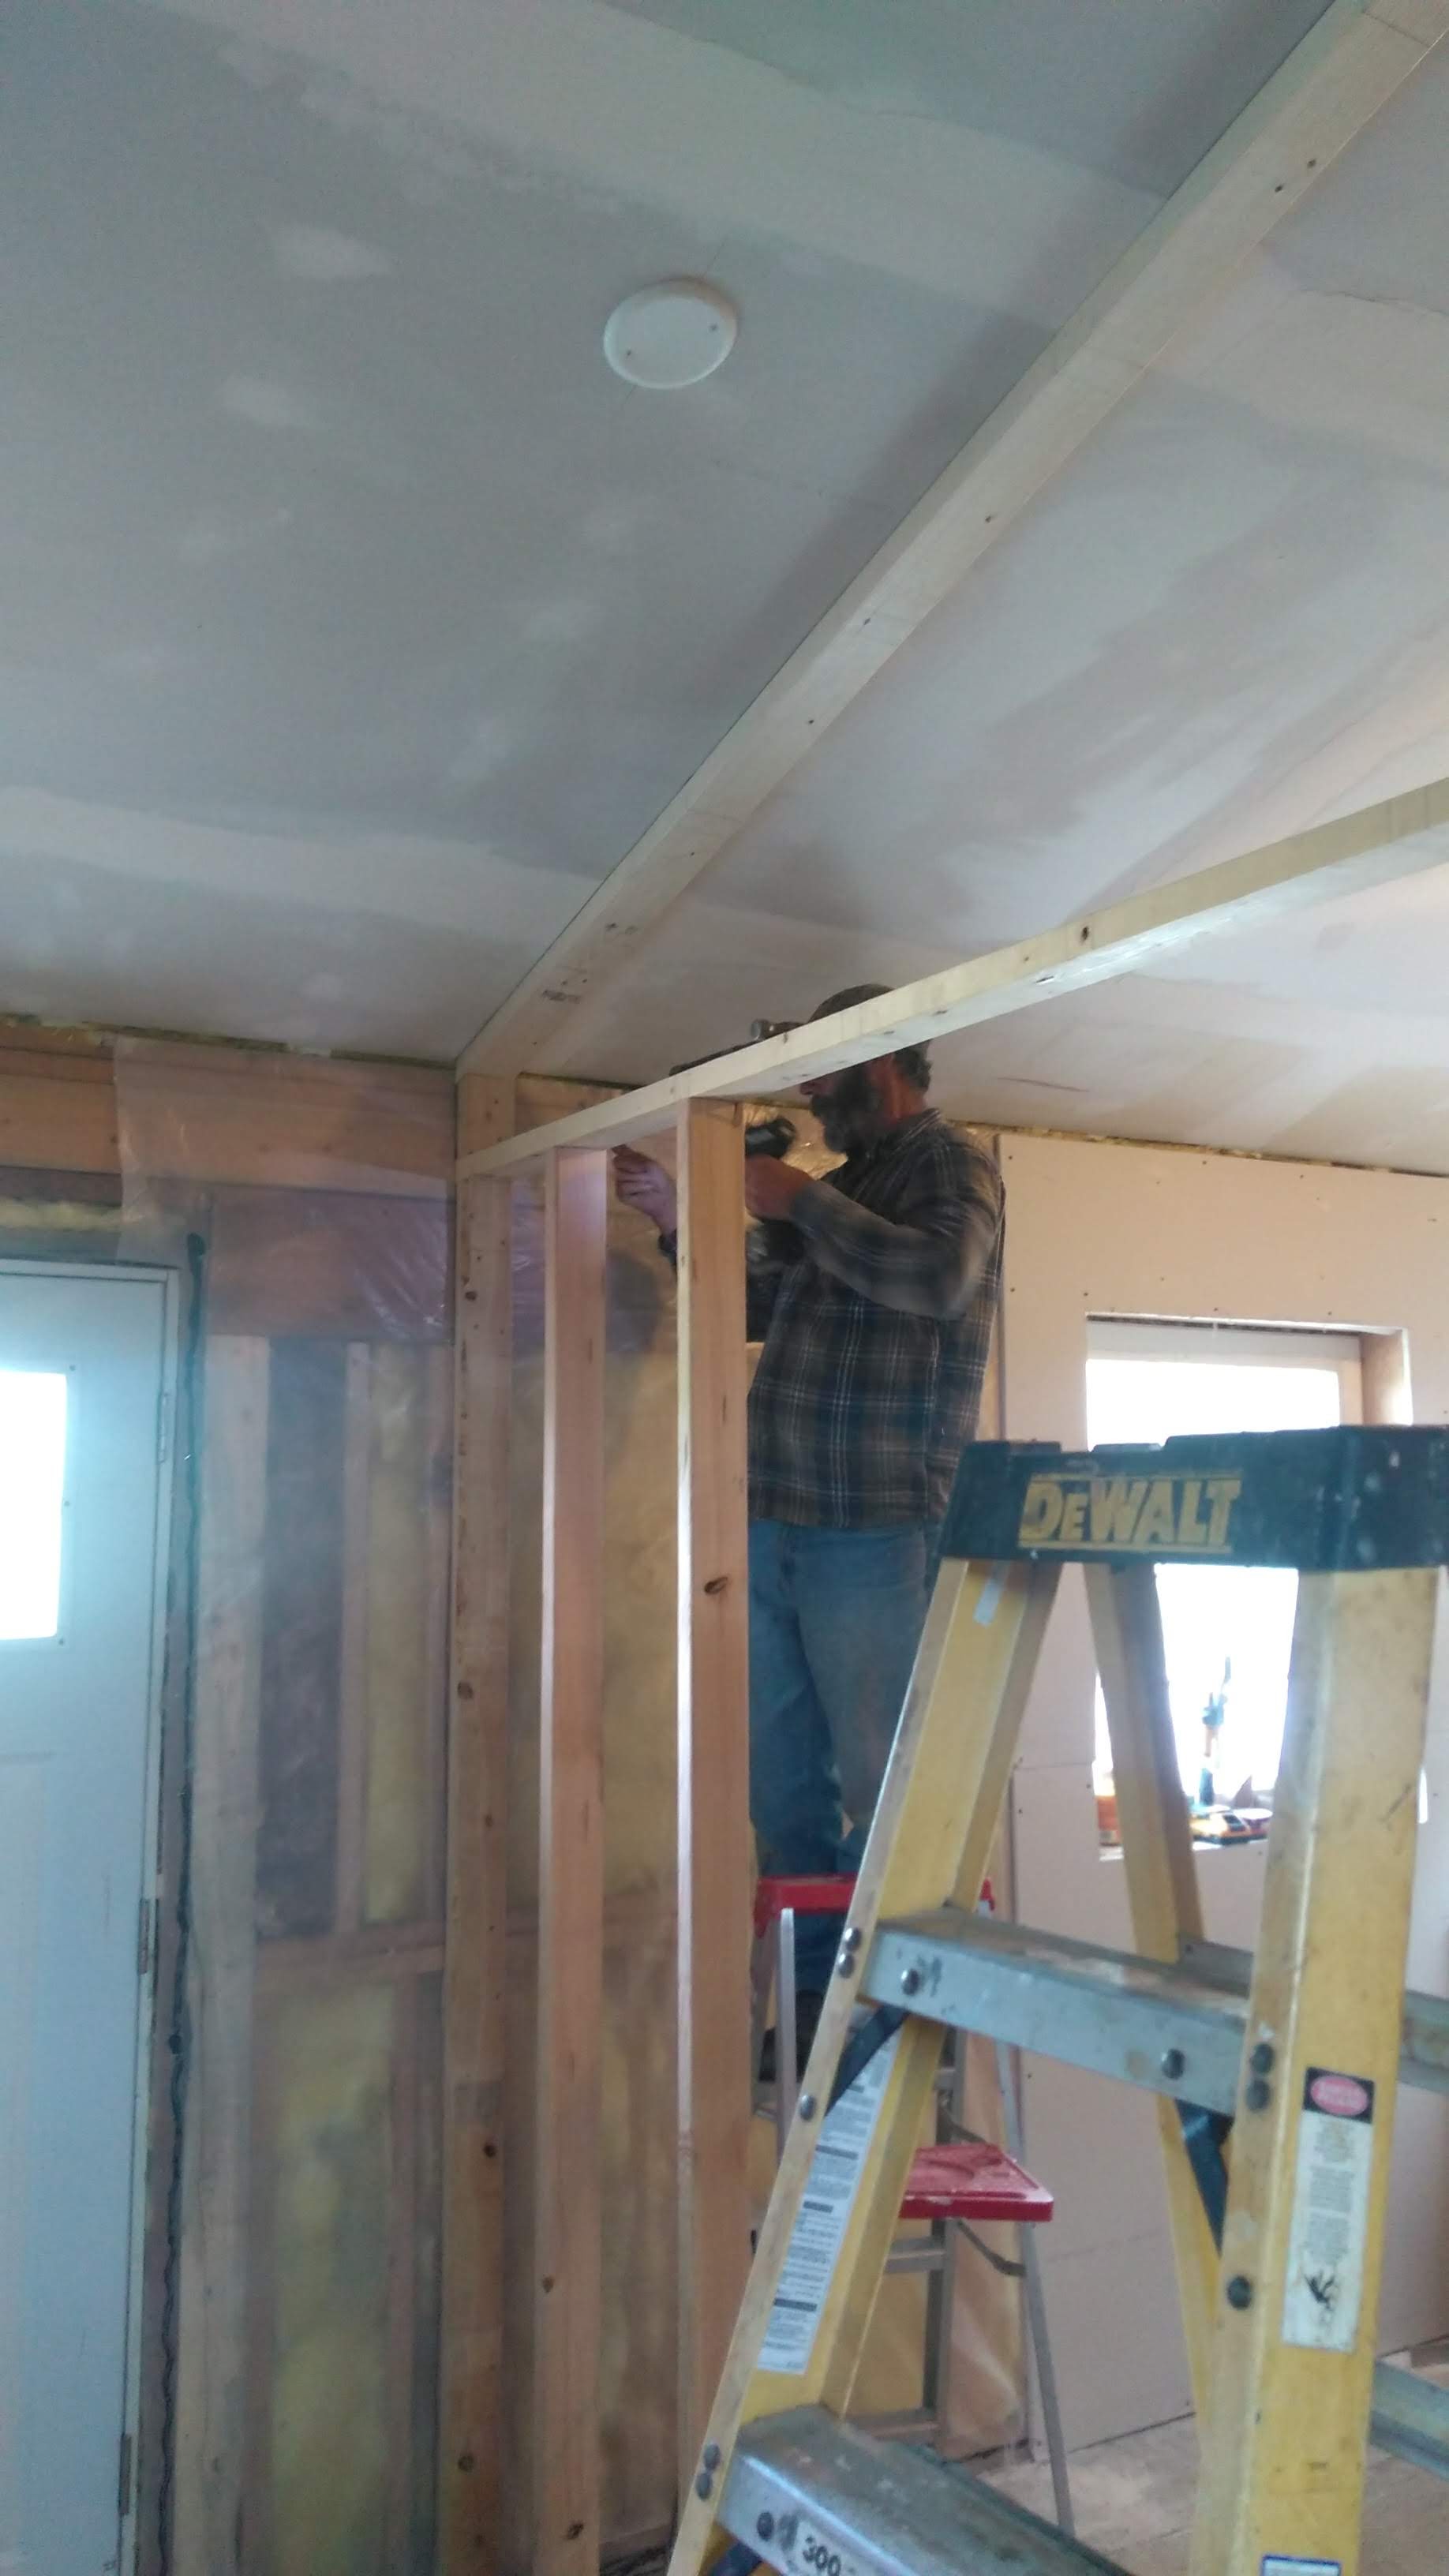
More wall framing.

We took out the side entry door and put in a window.

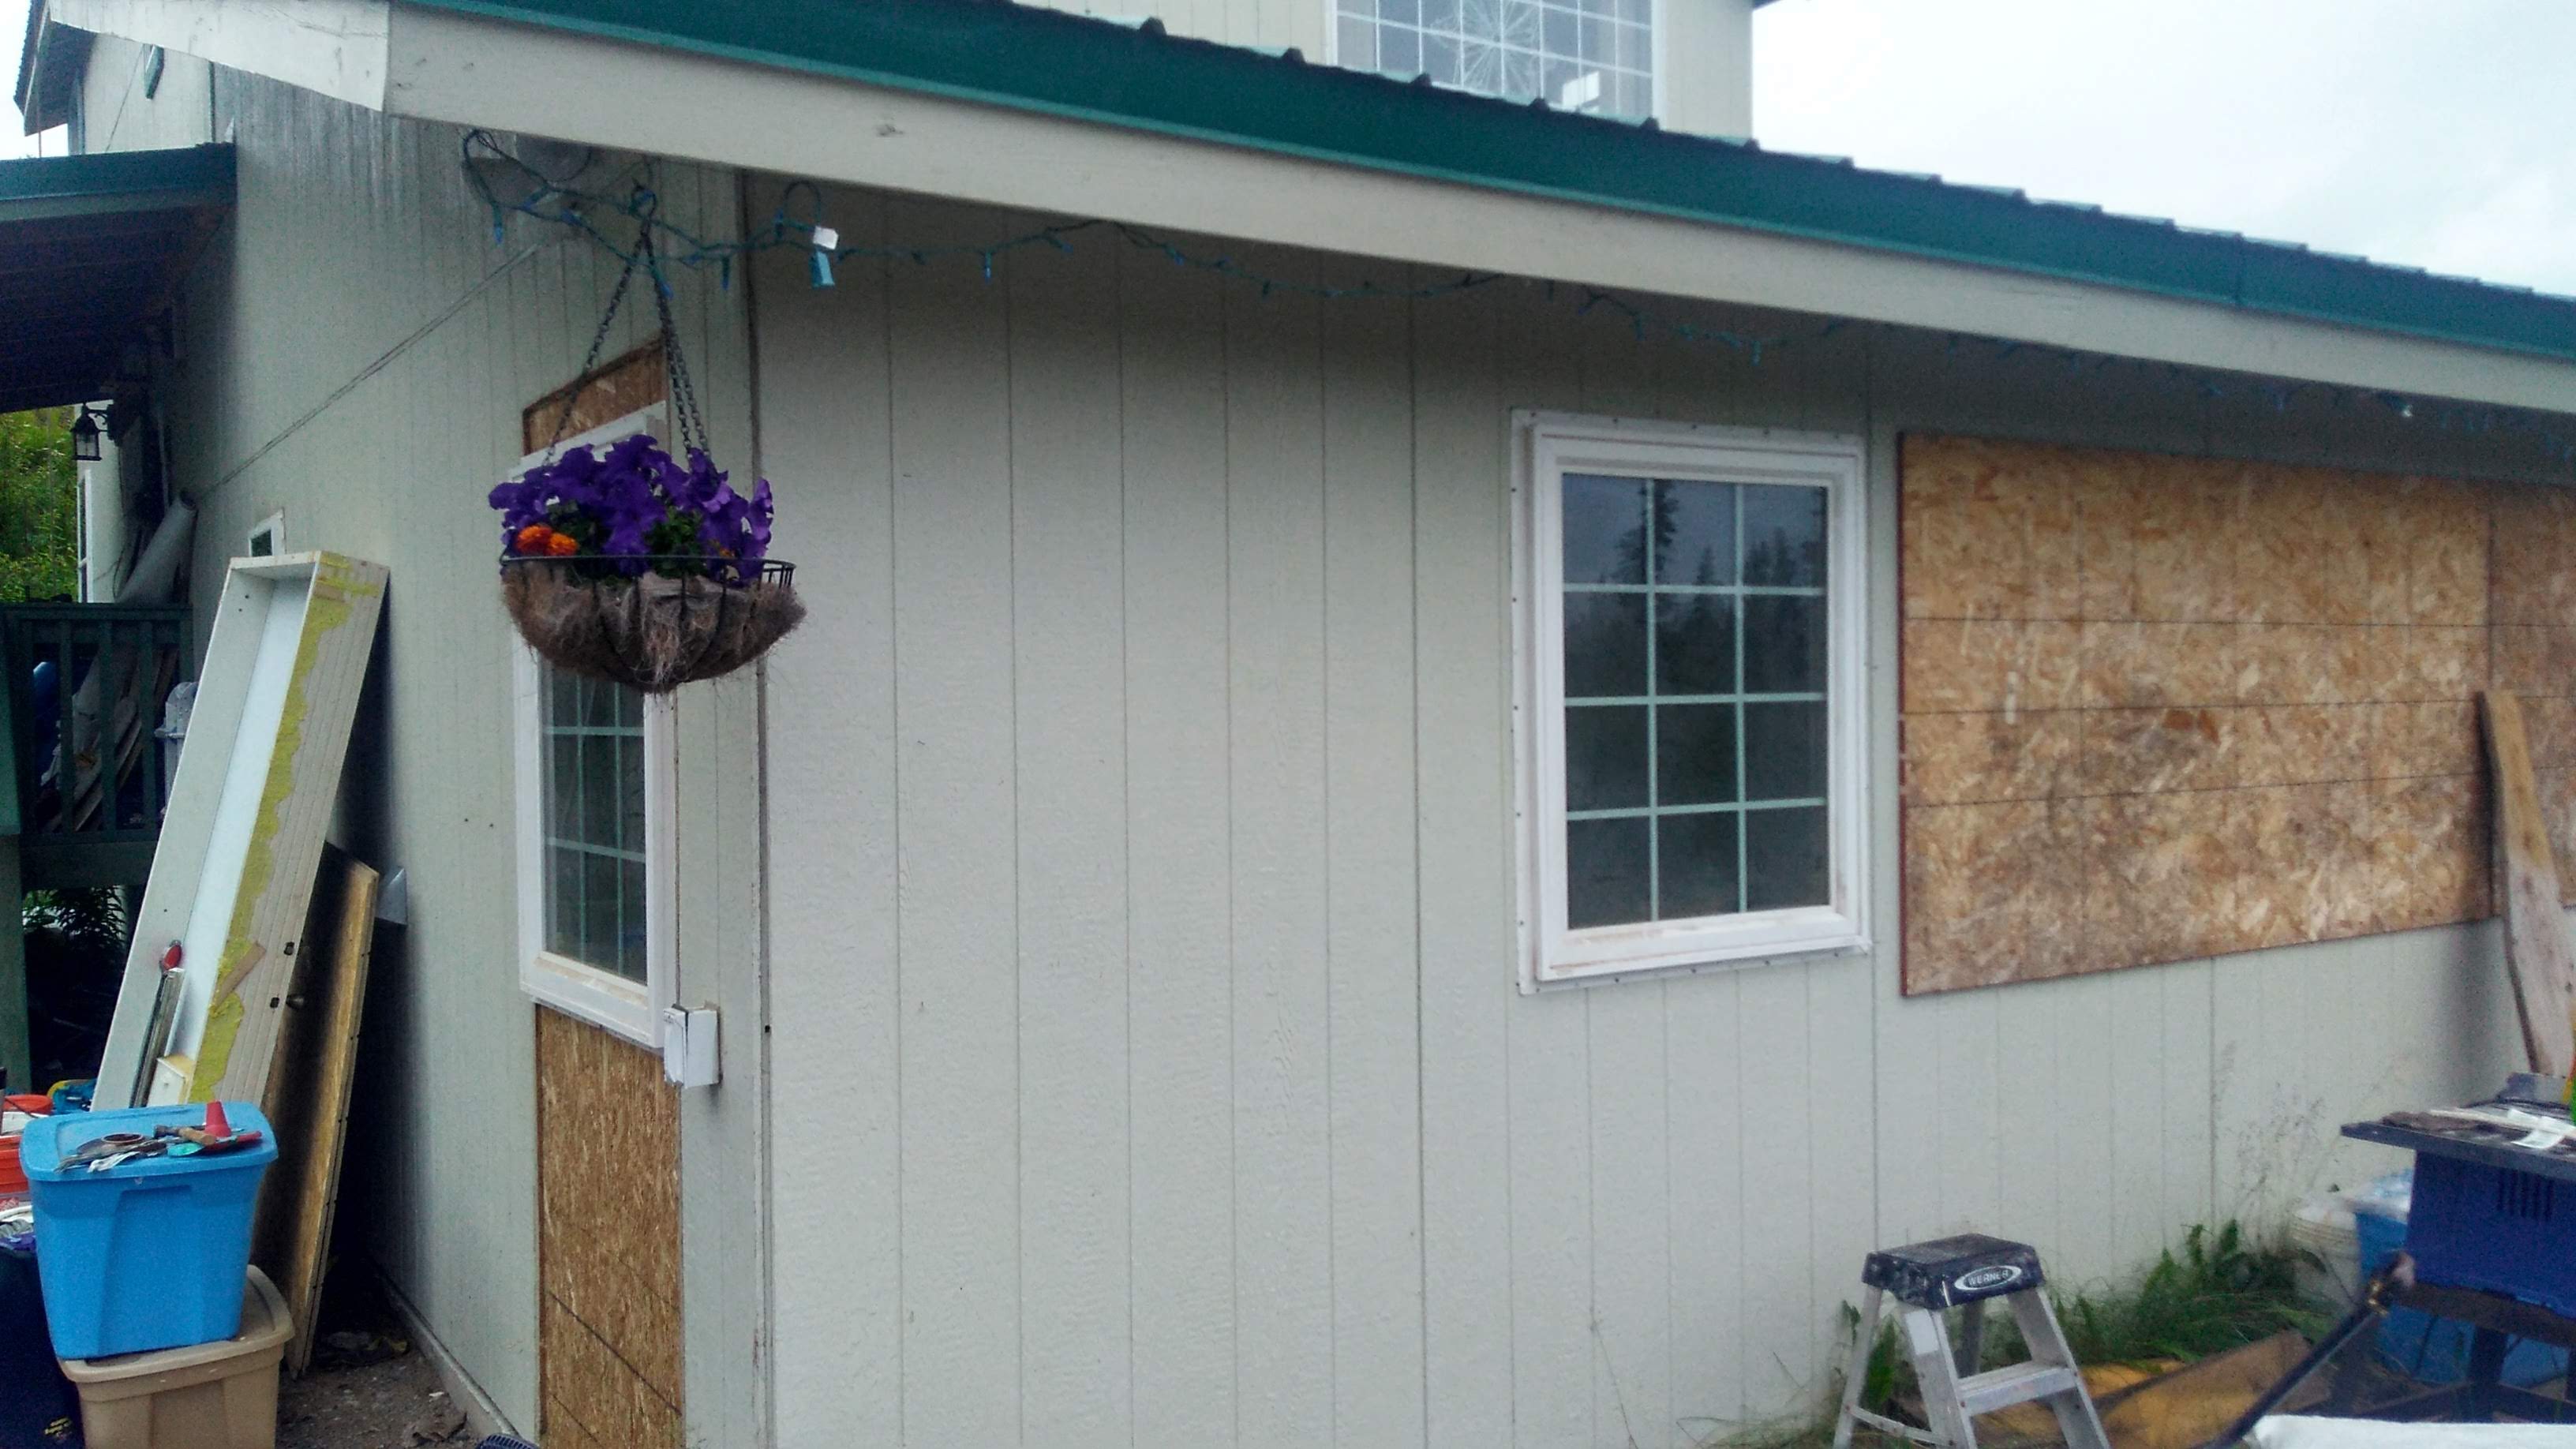
Added a front window, and my new bedroom will be bright and cheerful!

Flooring going down in the girl’s new room.

My new front door.

Painting prep in the girl’s room.

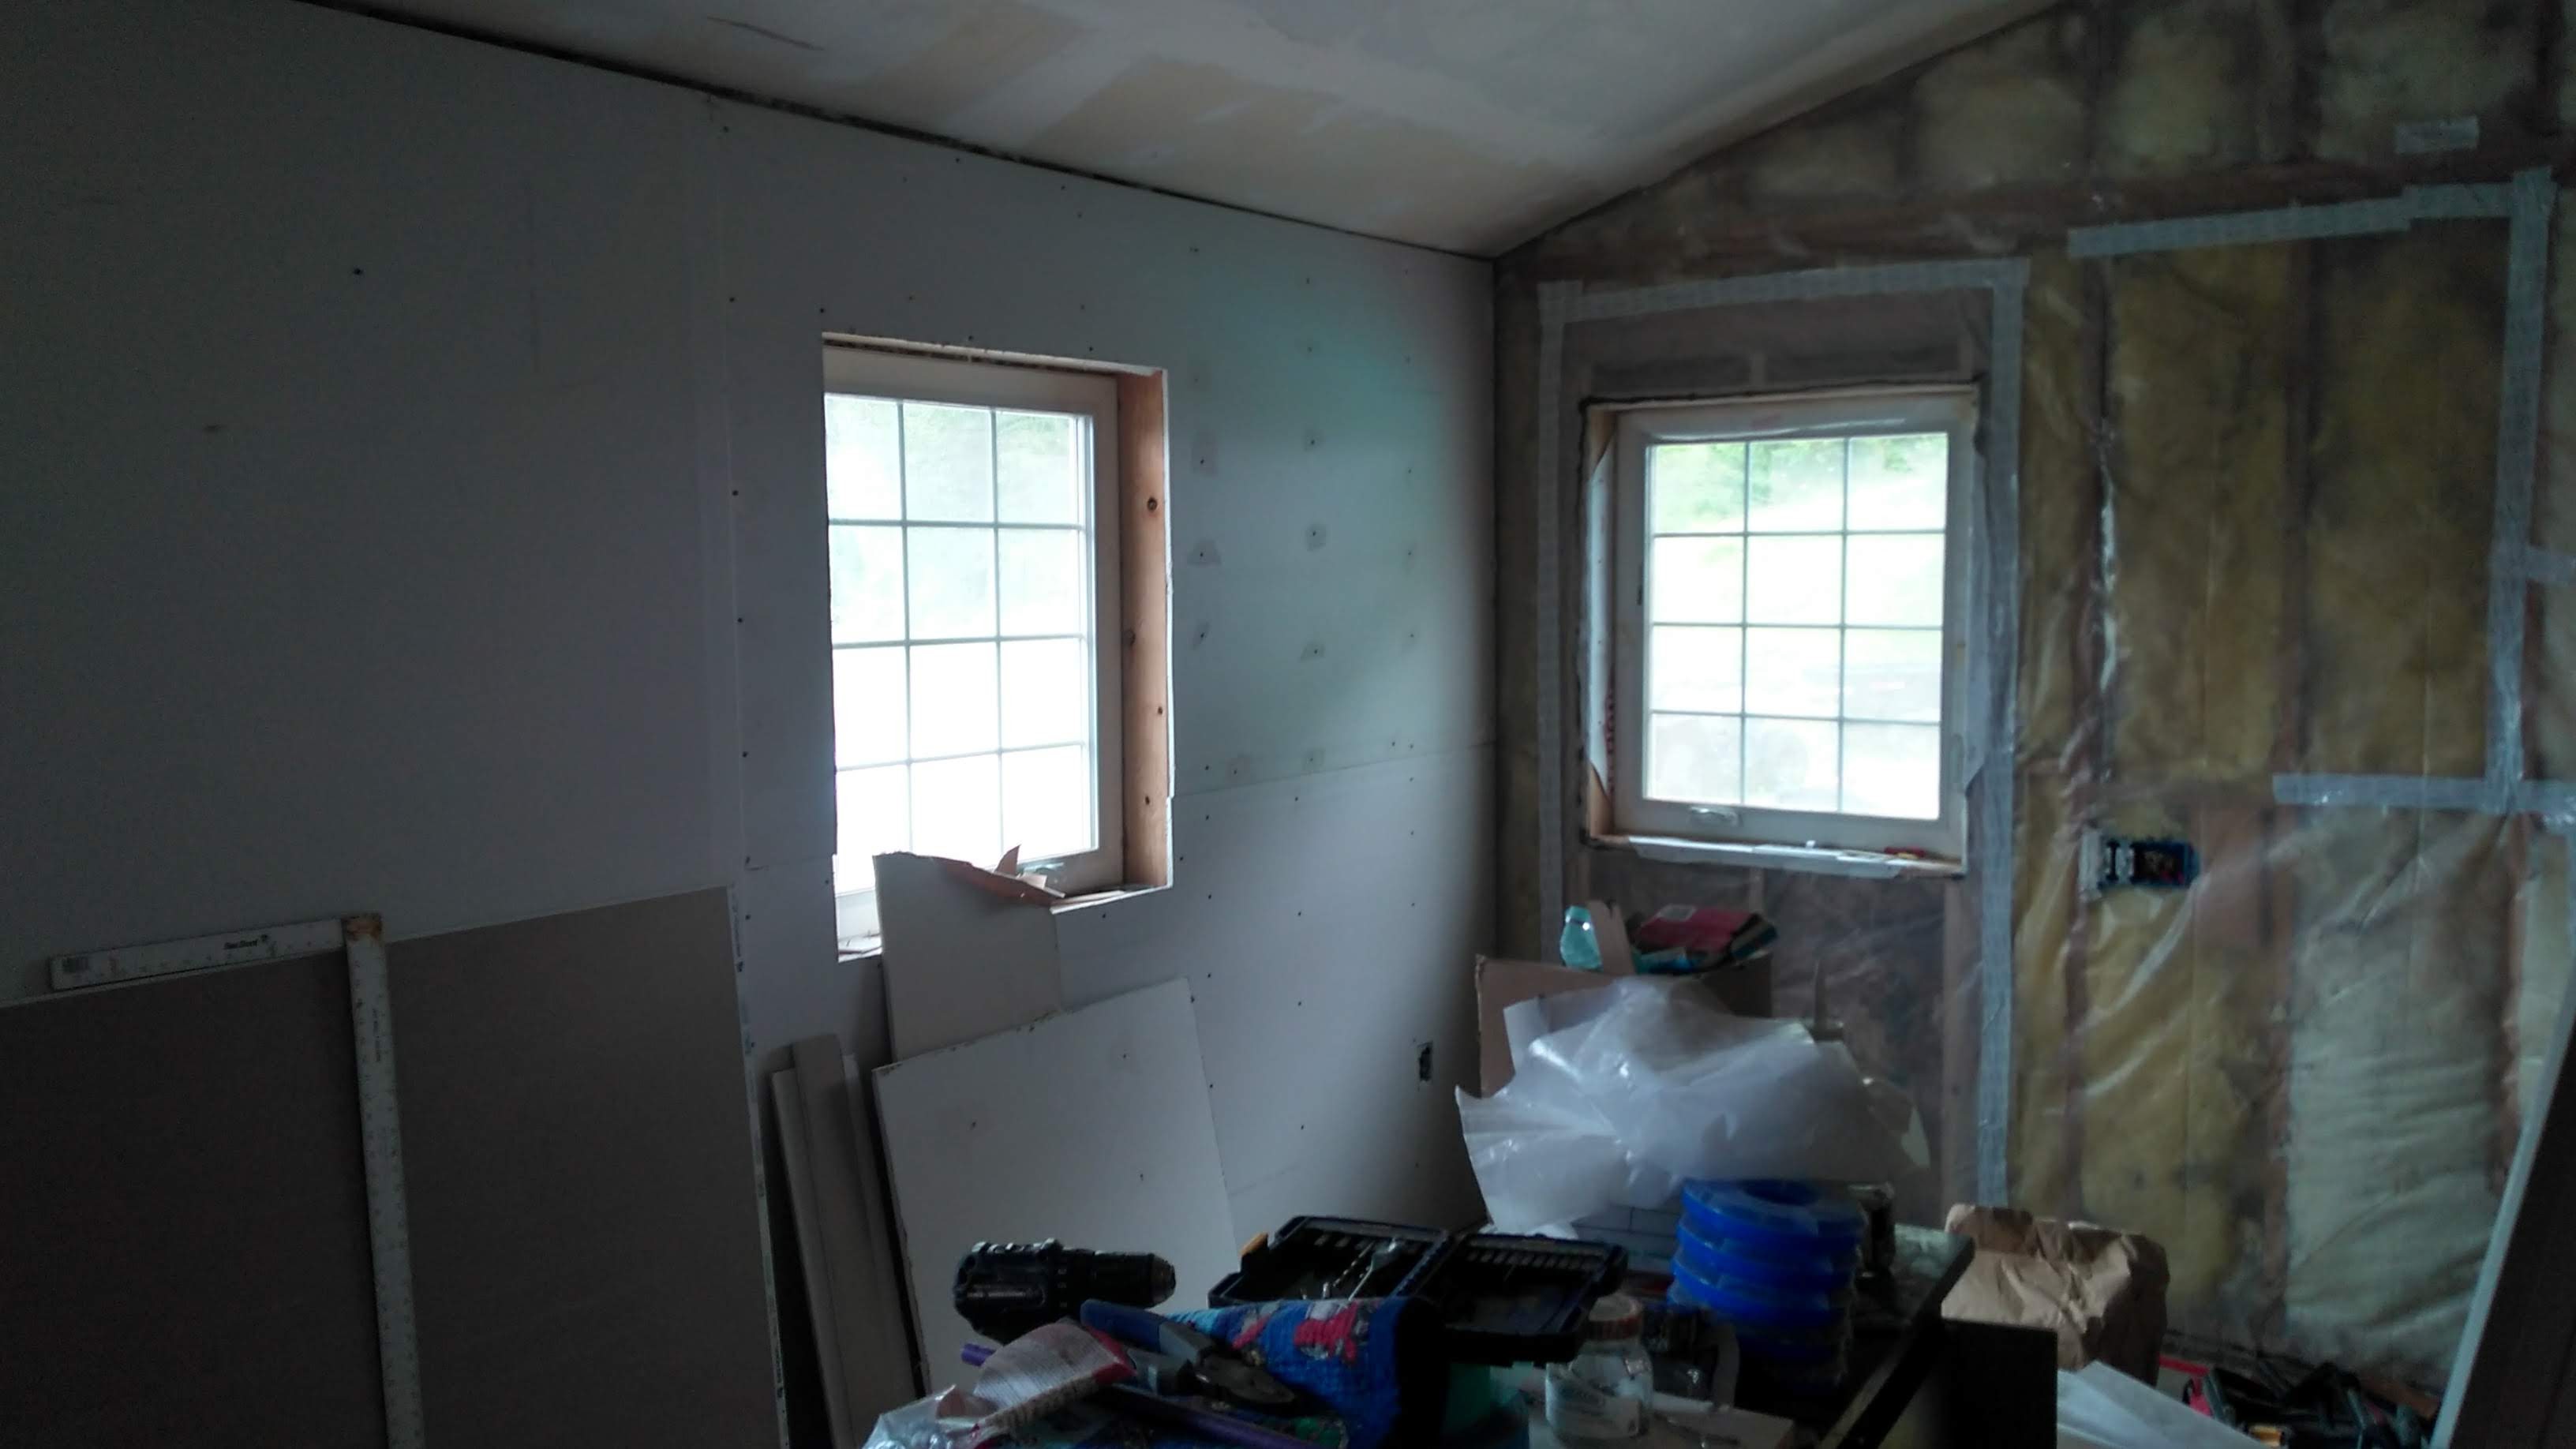
The inside view of my new bedroom windows.

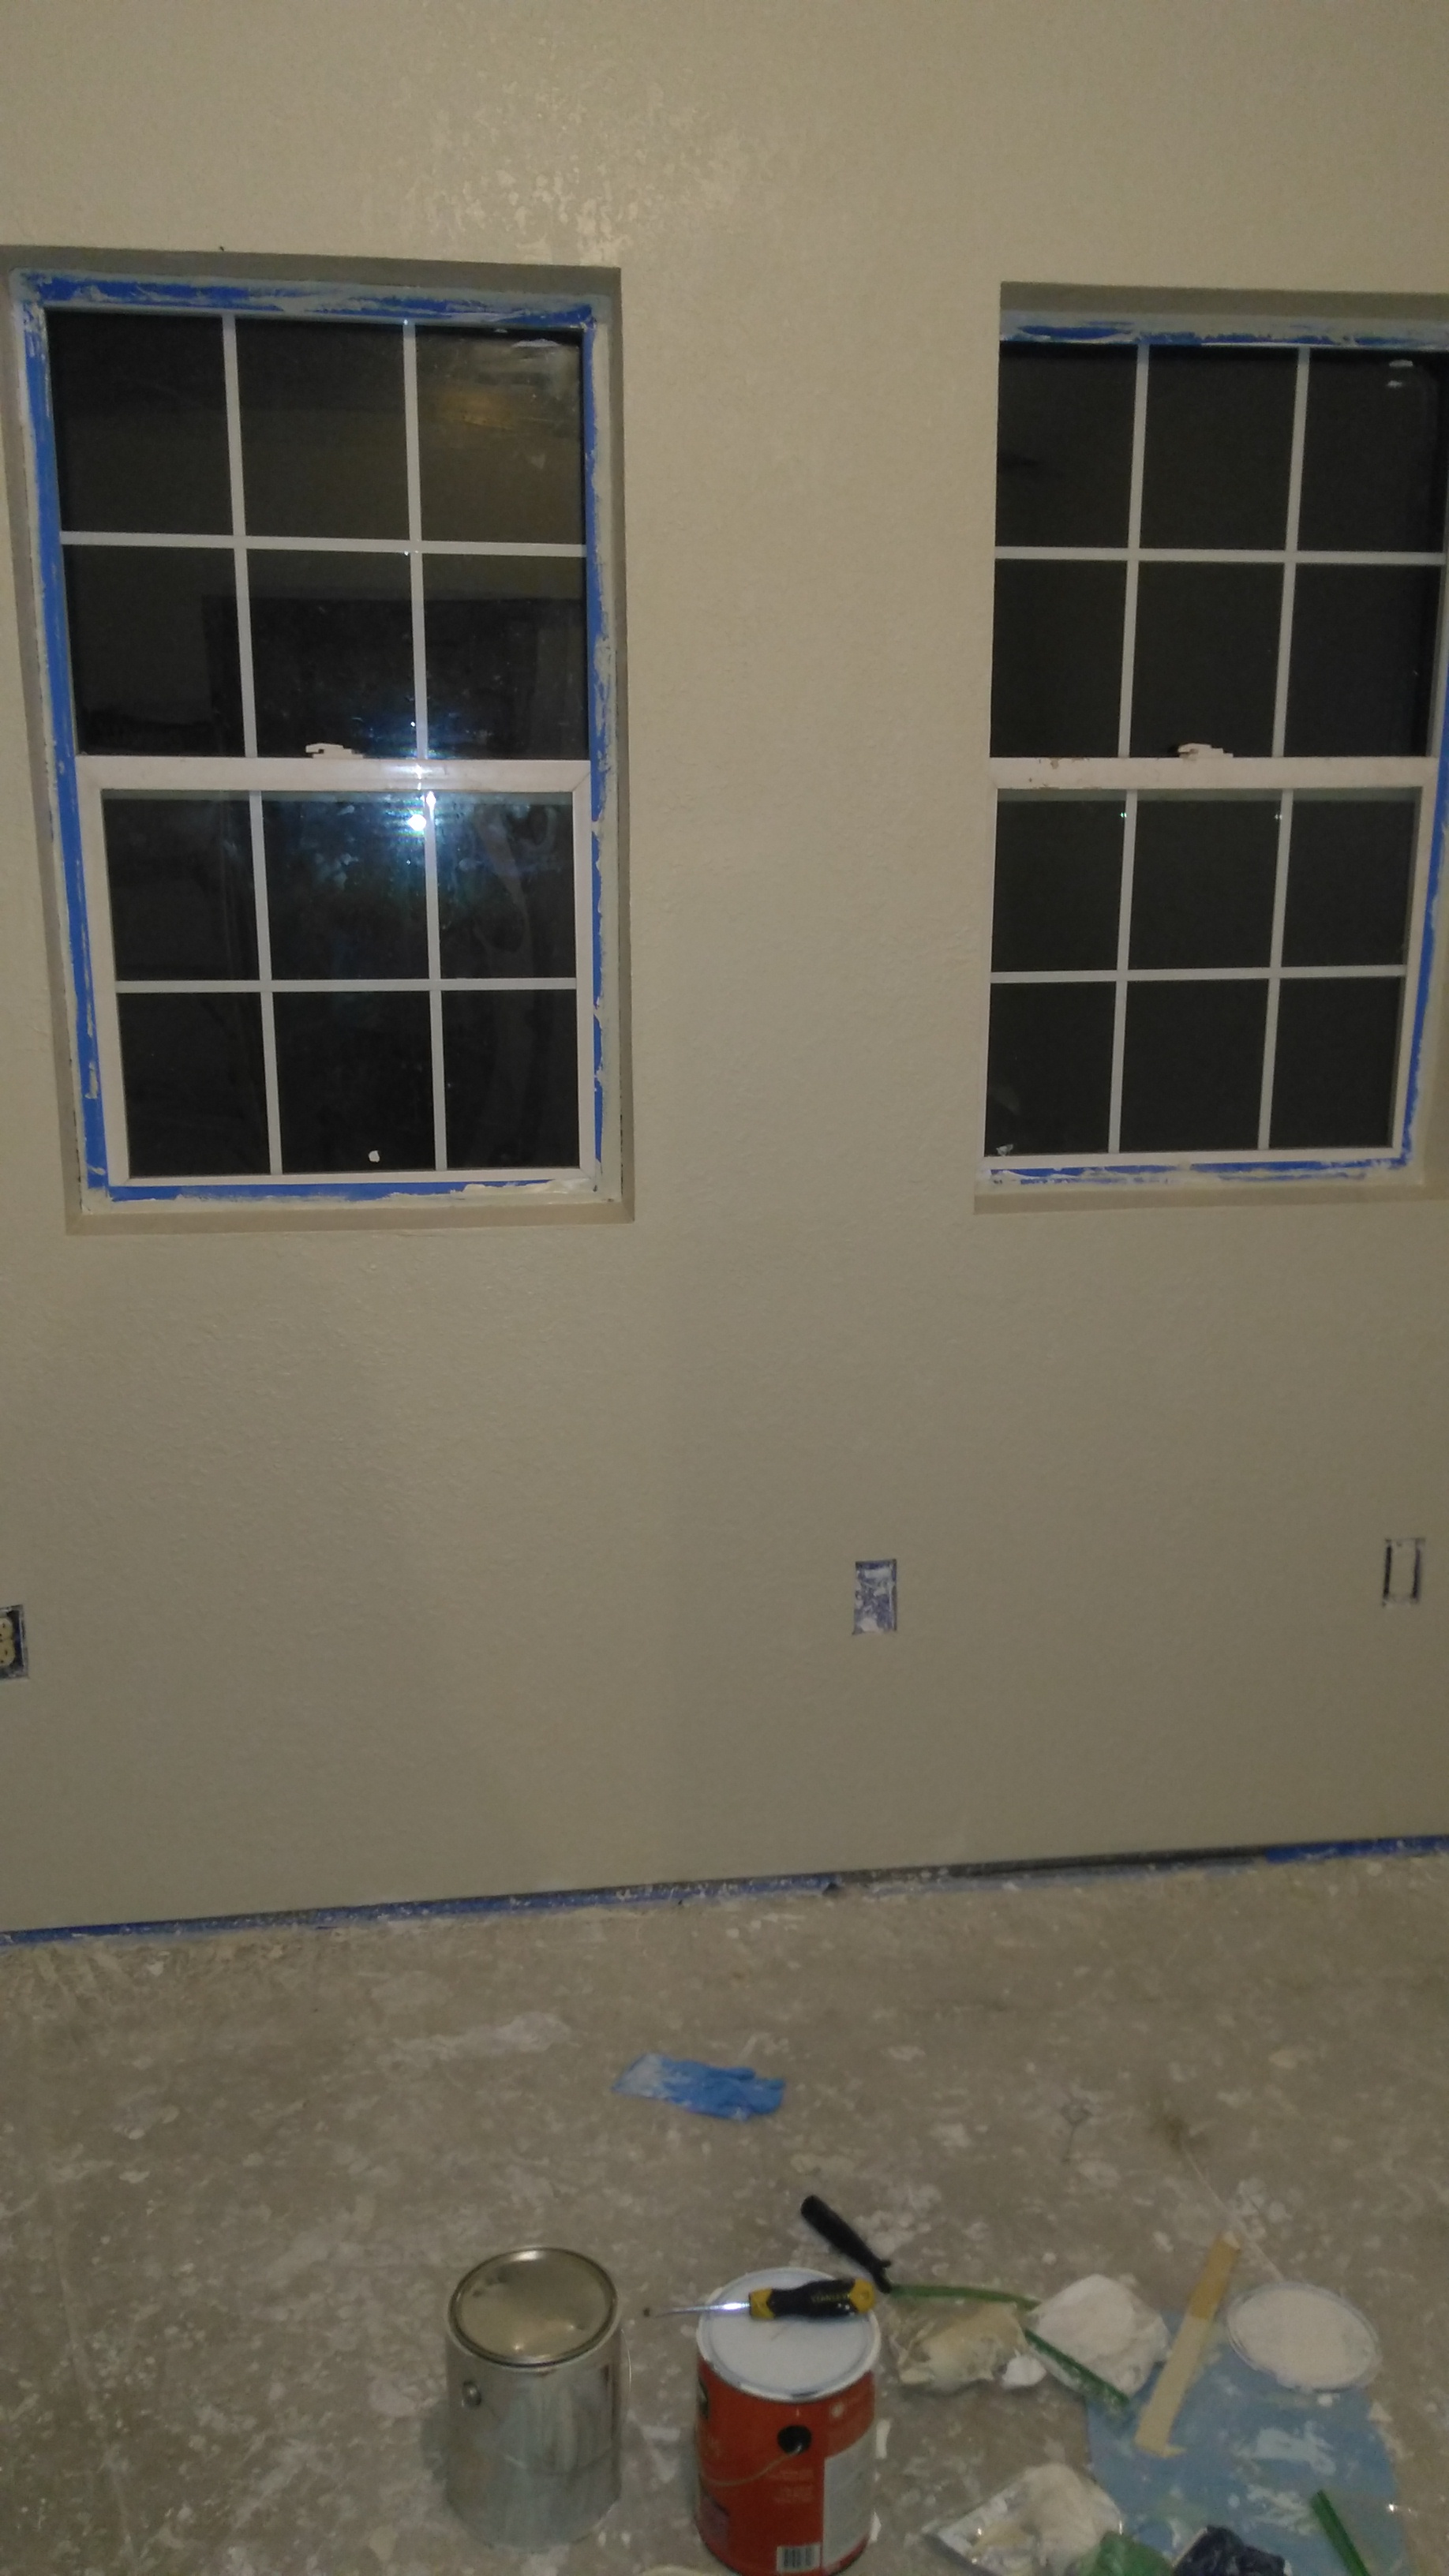
Girl’s room, painted and ready for final trim.

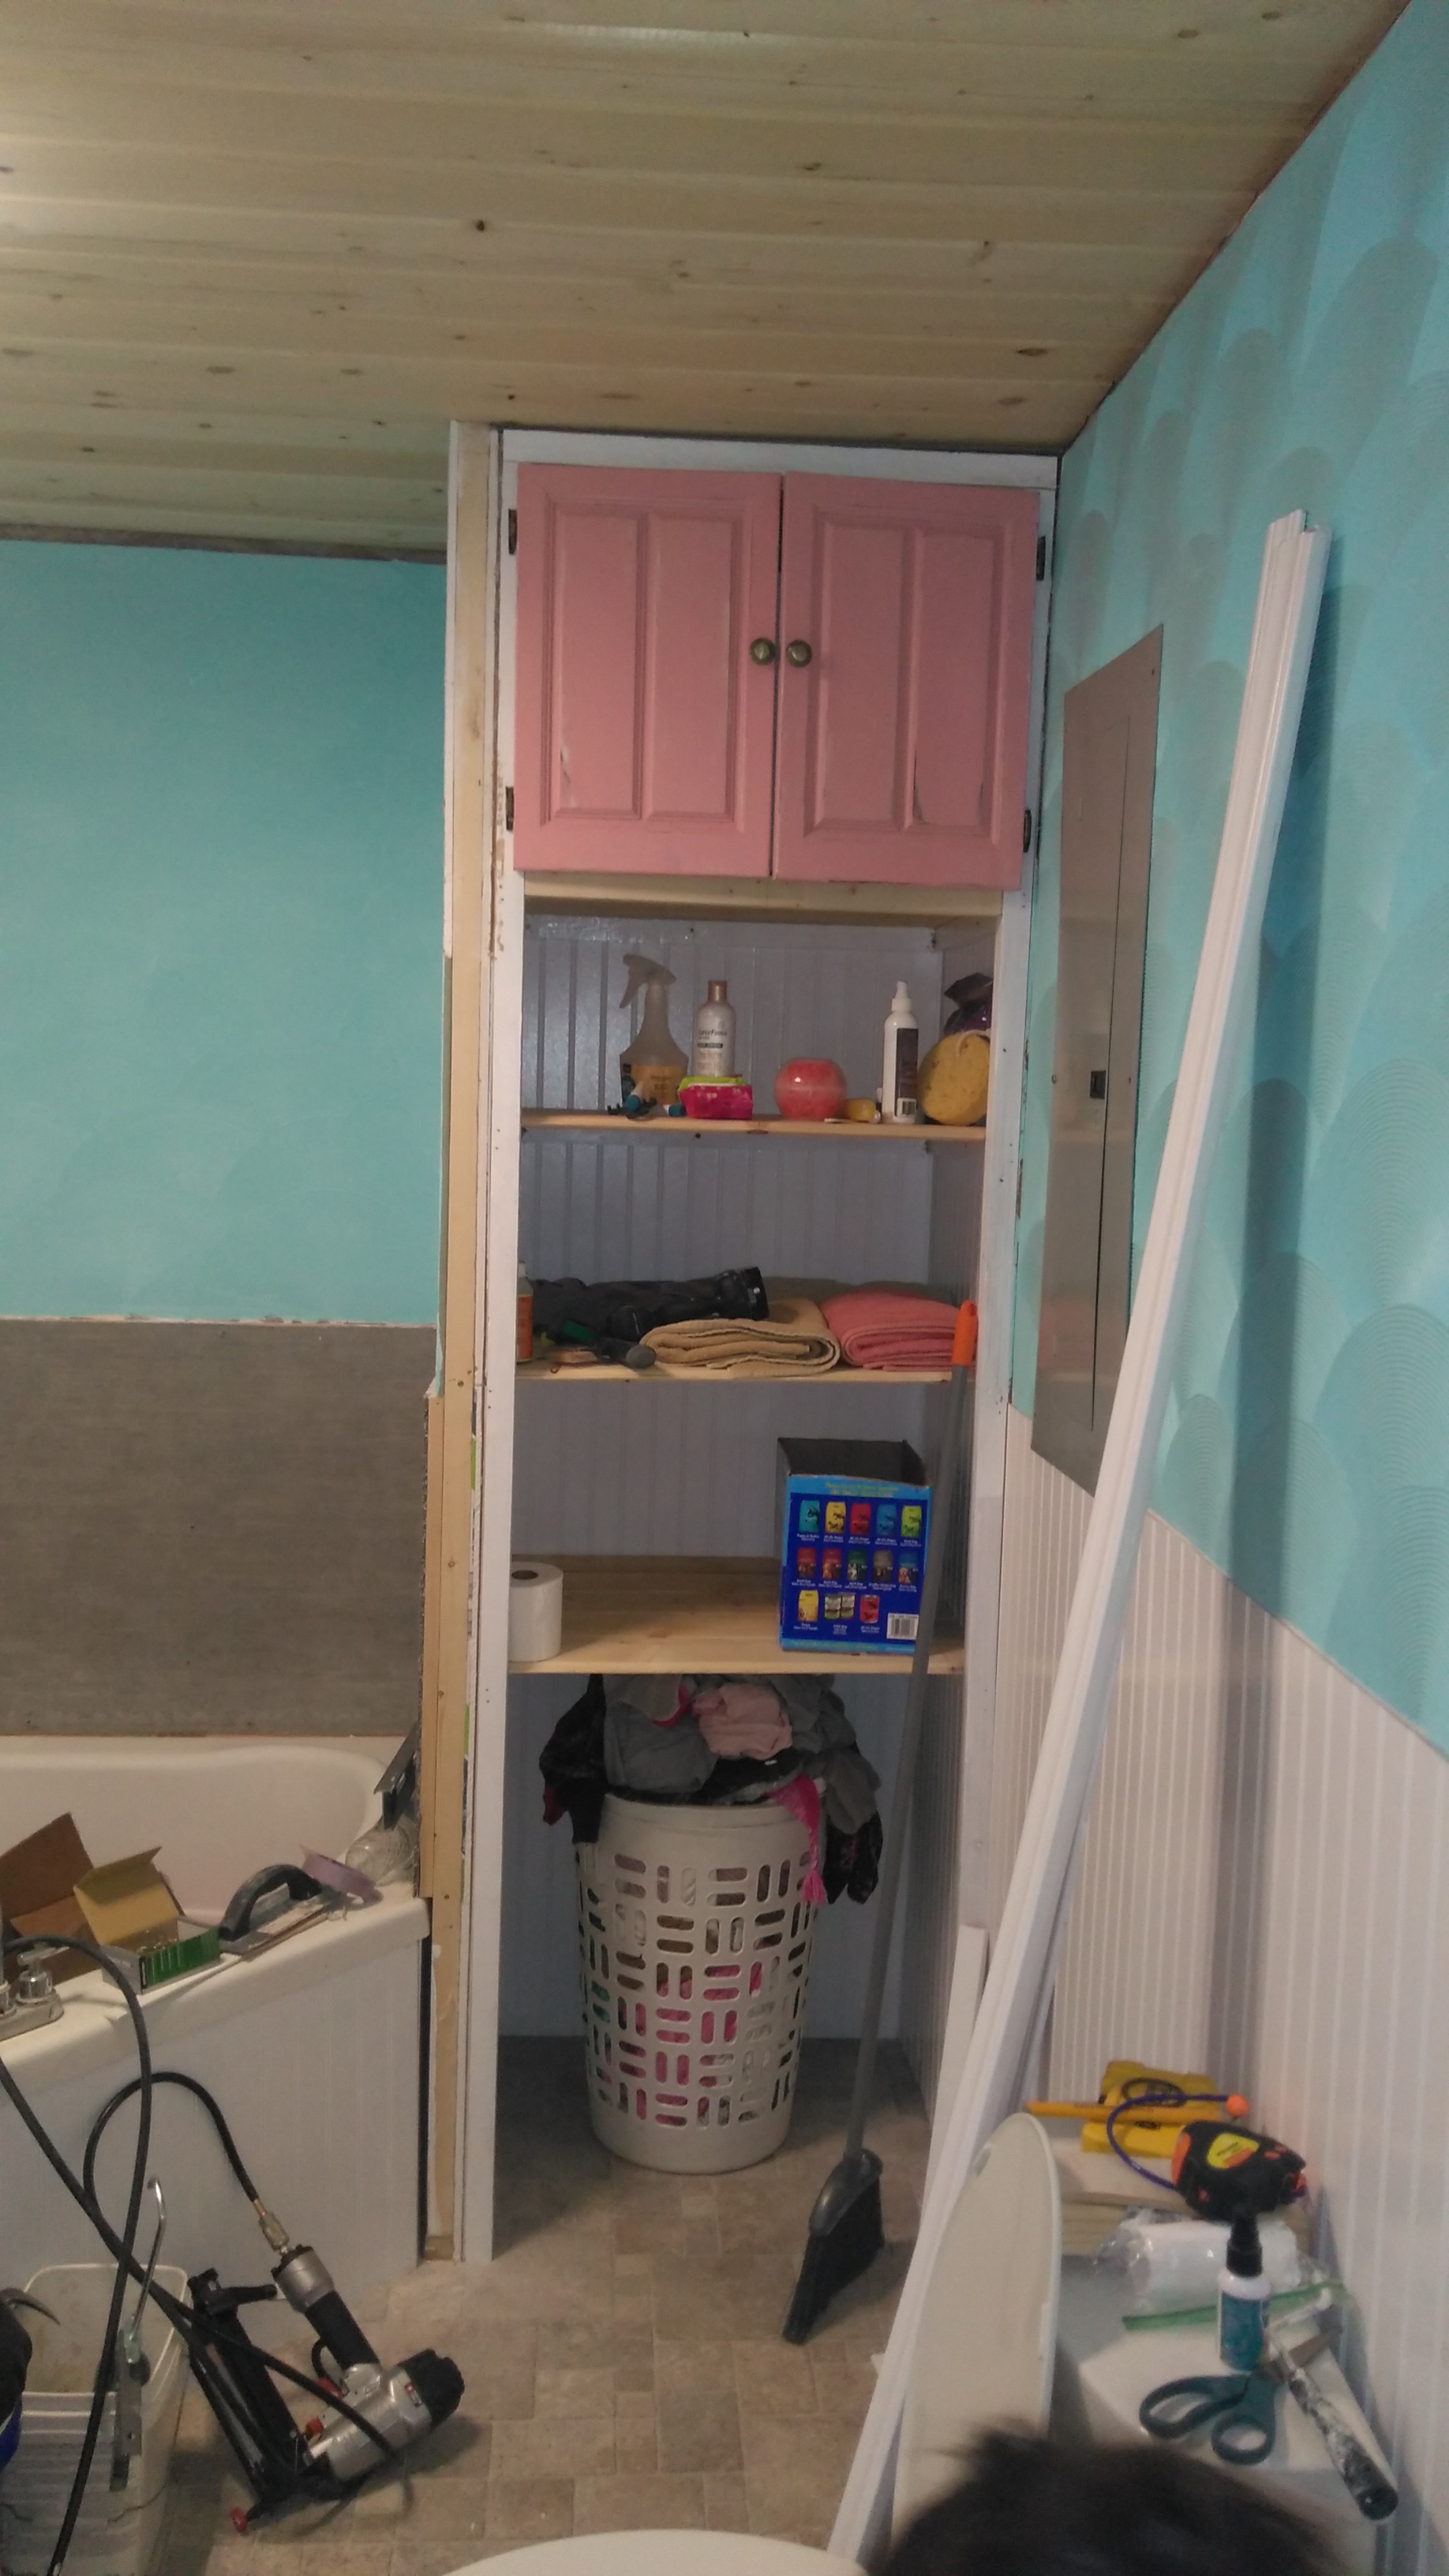
The beach themed bathroom coming together. I built a linen storage, installed beadboard wainscoting and picked some cheerful colors!

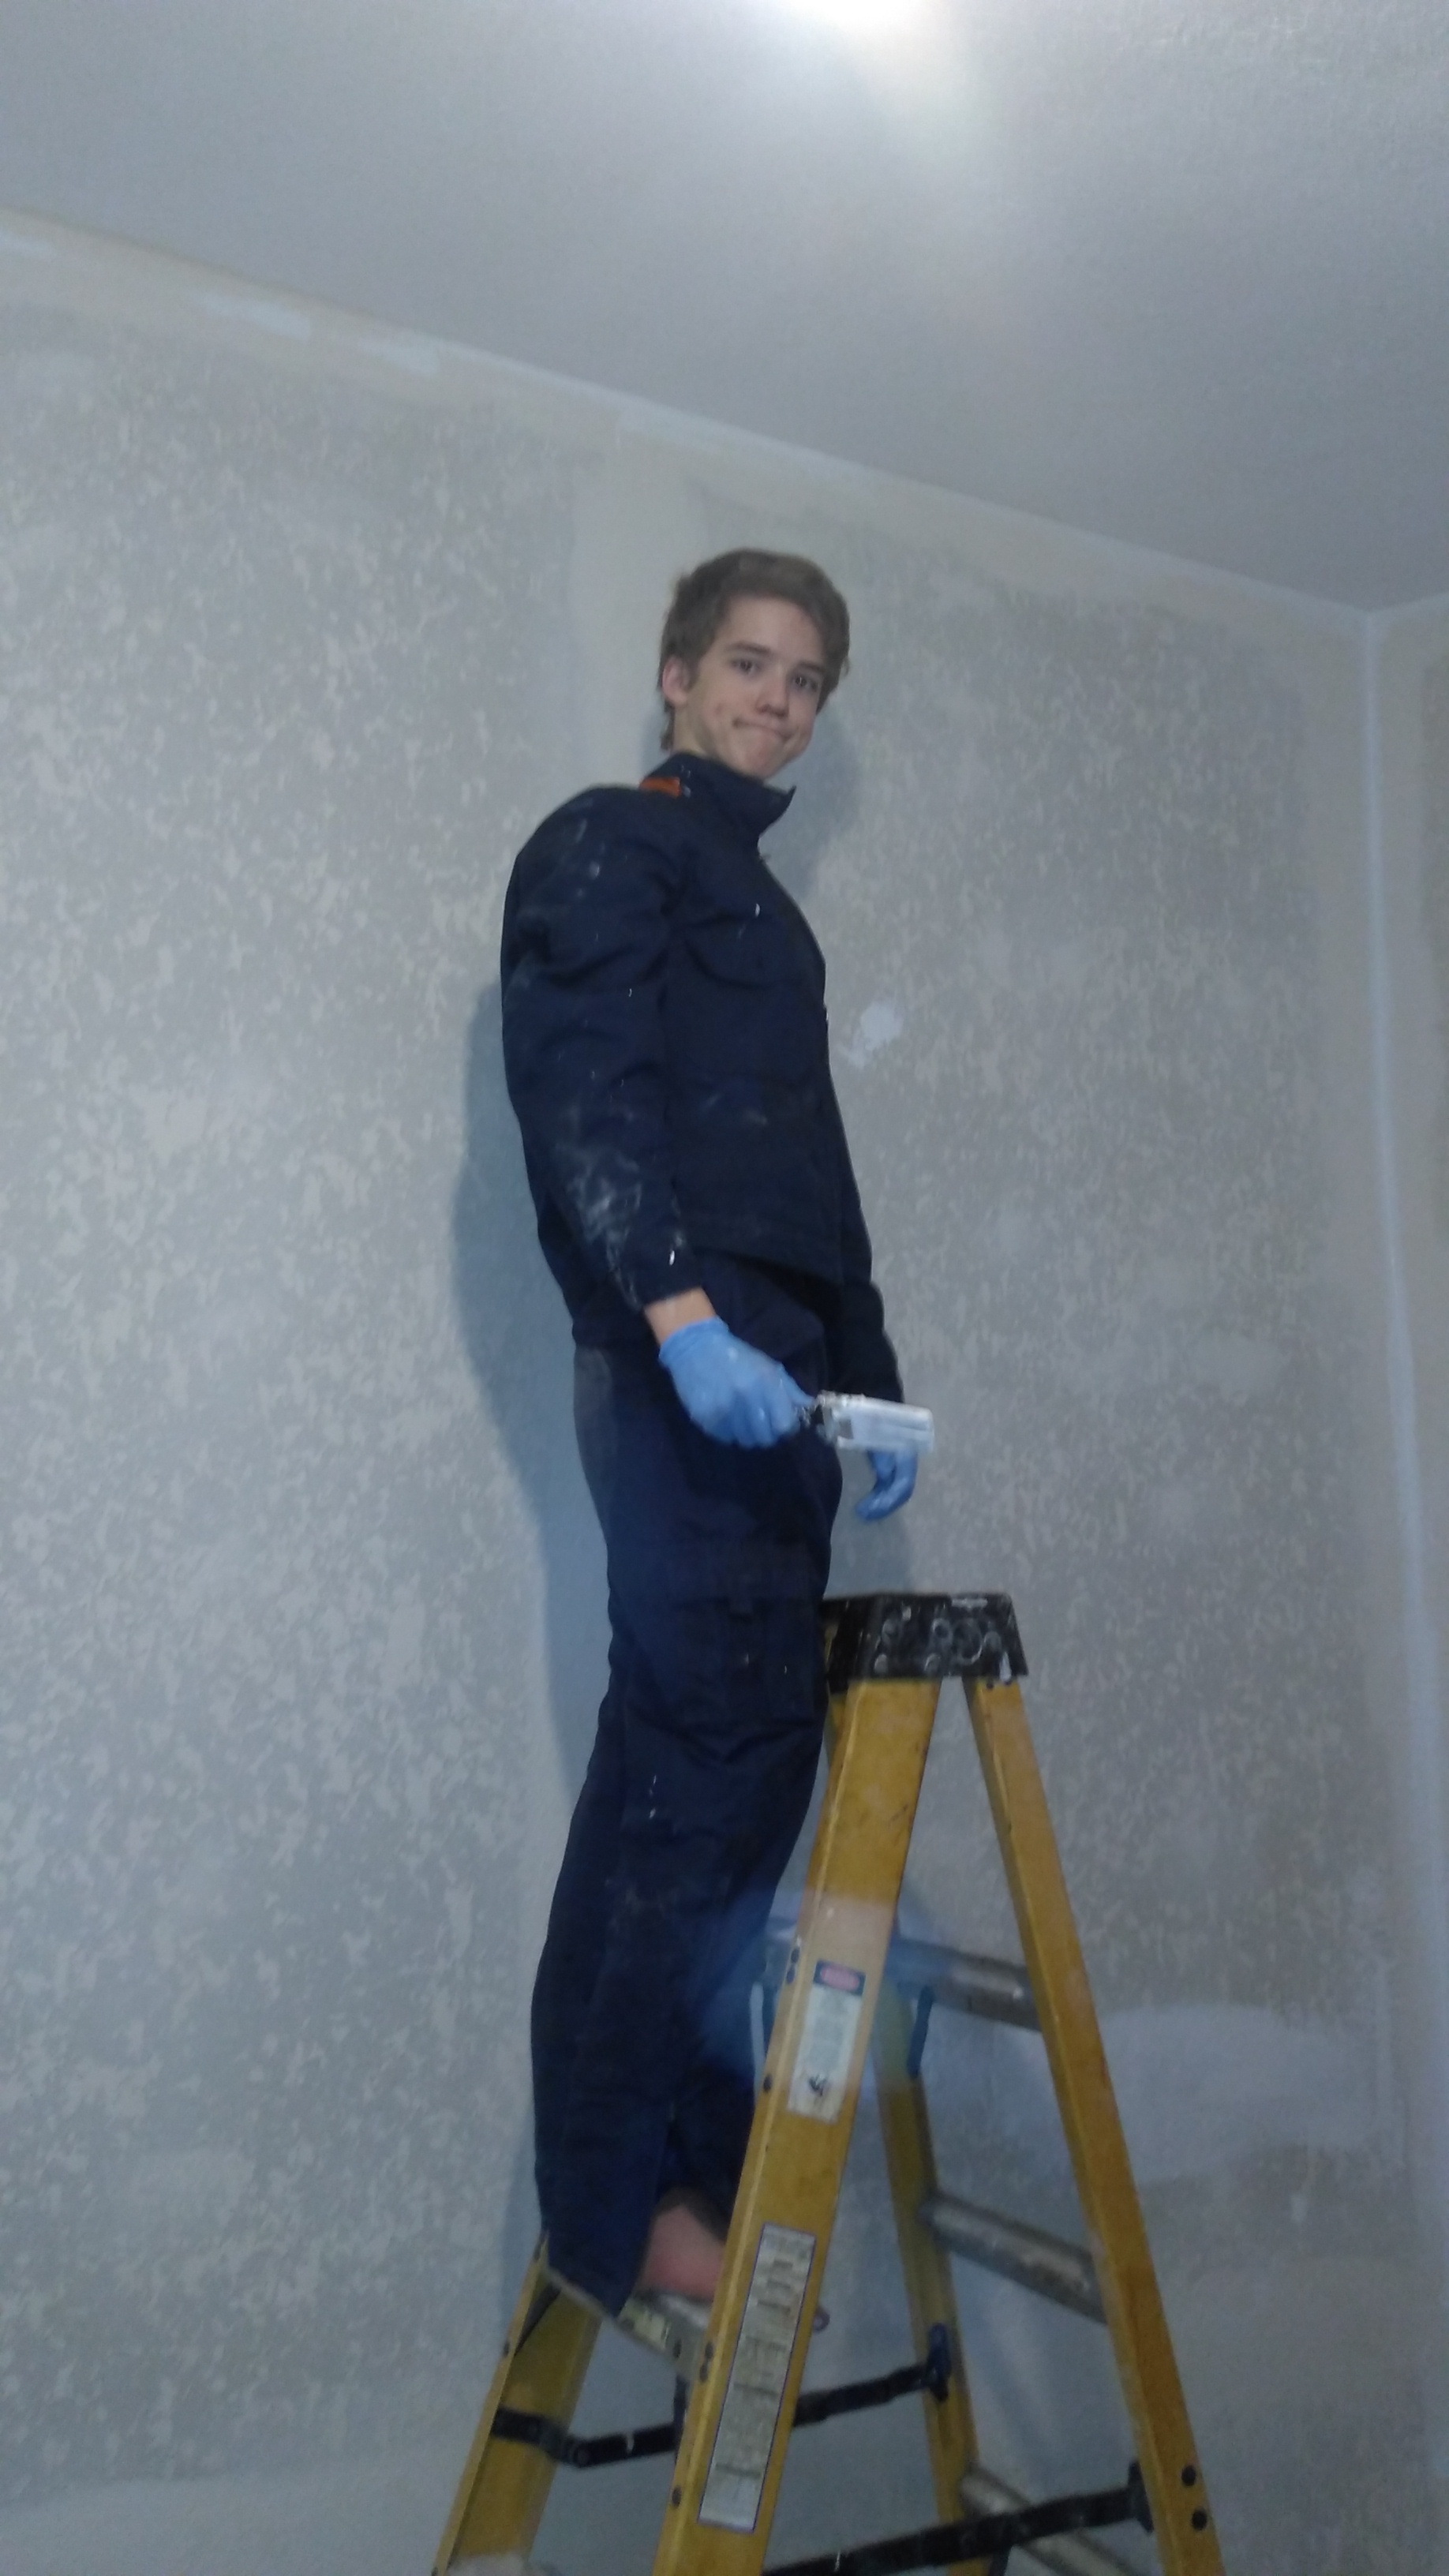
Thing 2 doing some painting.

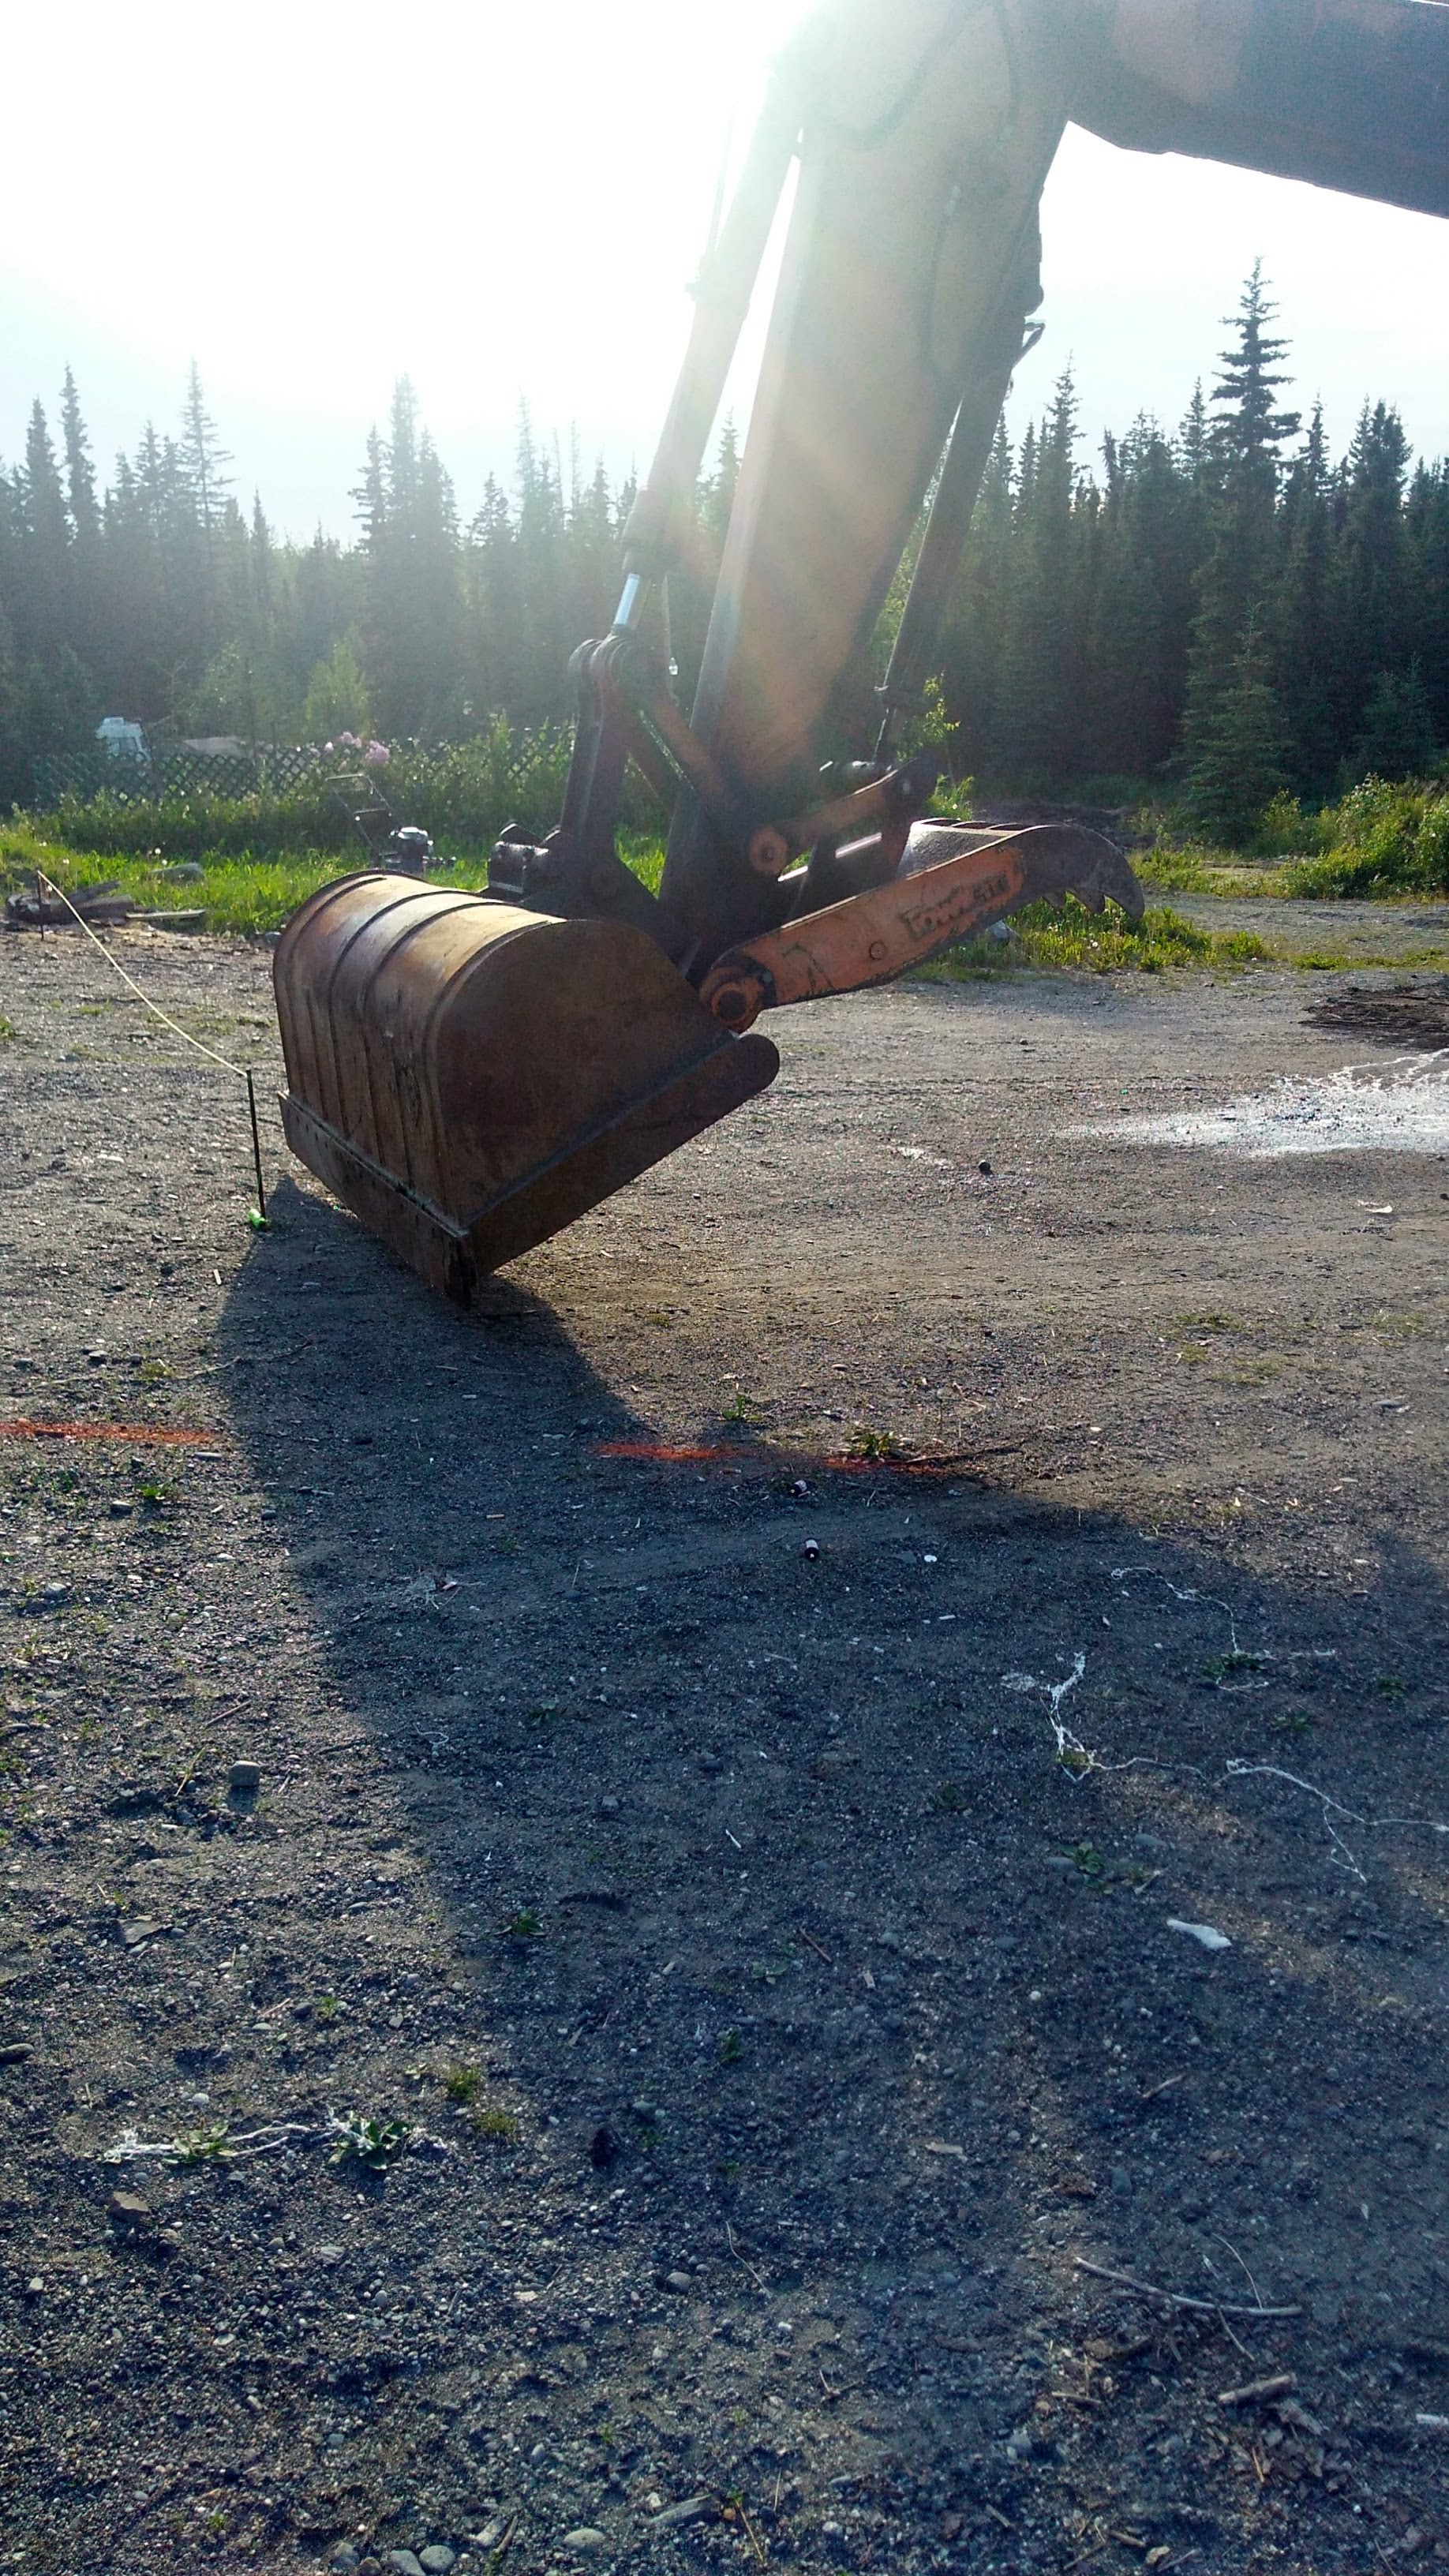
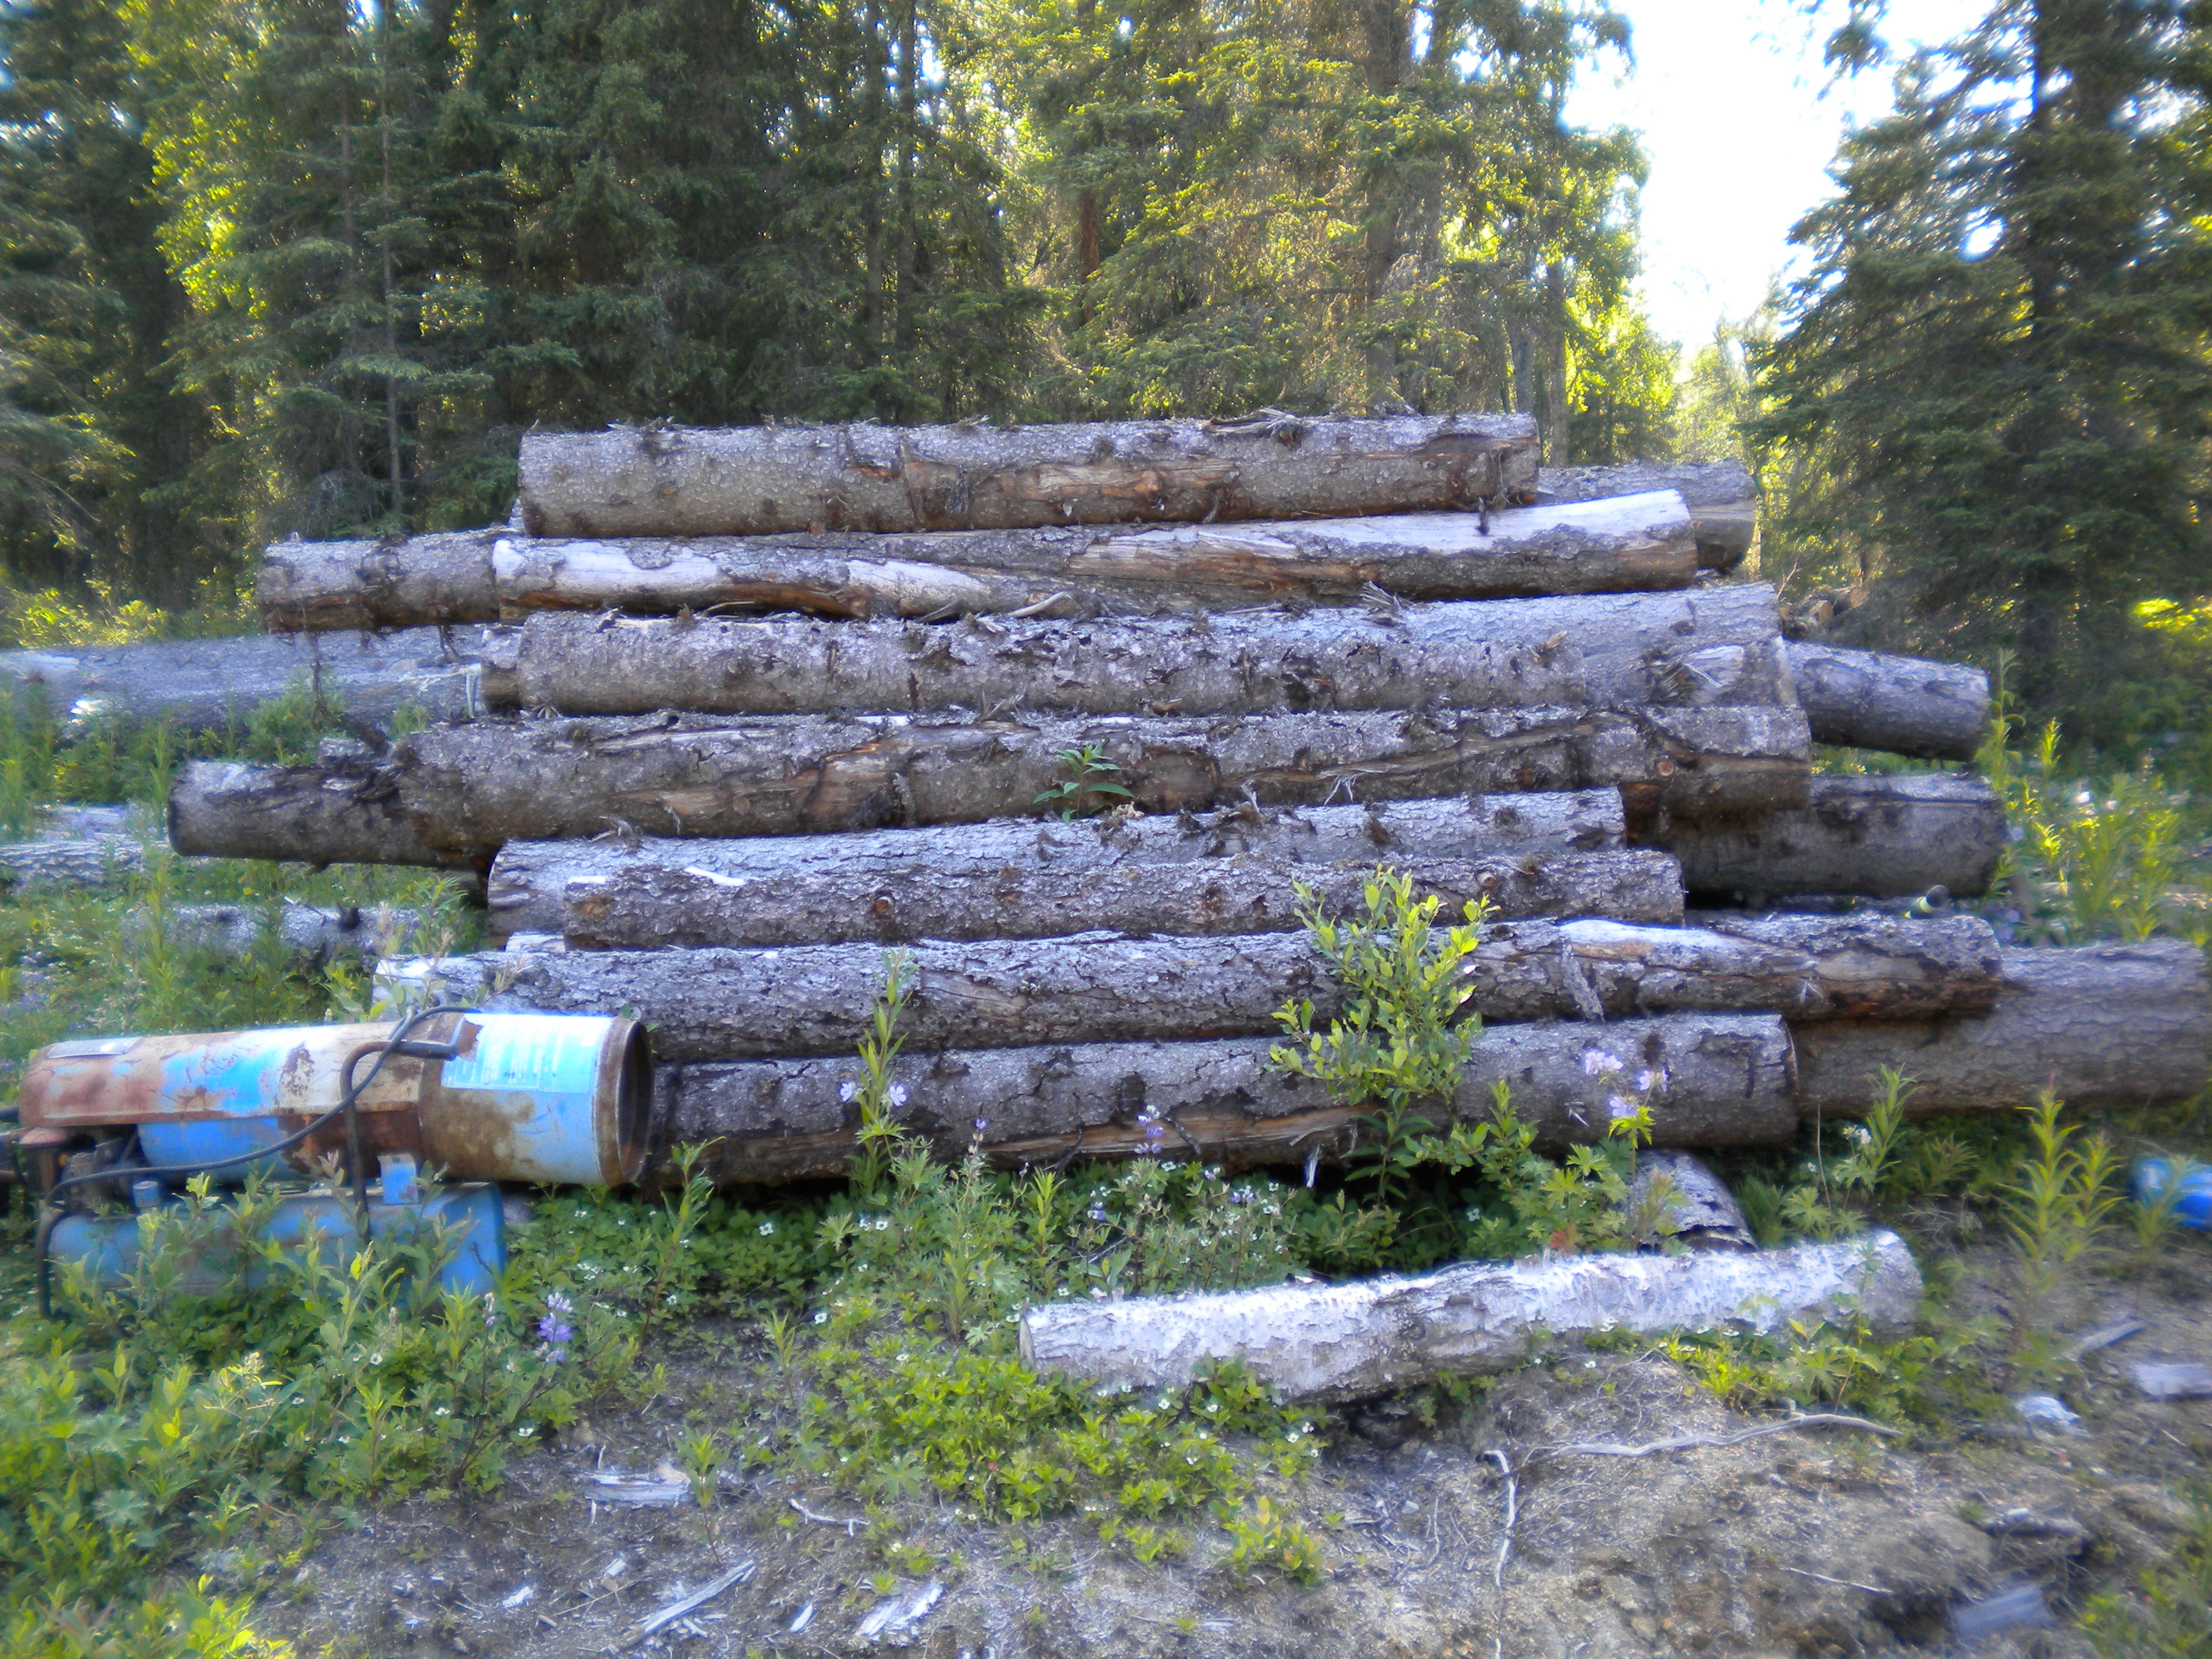
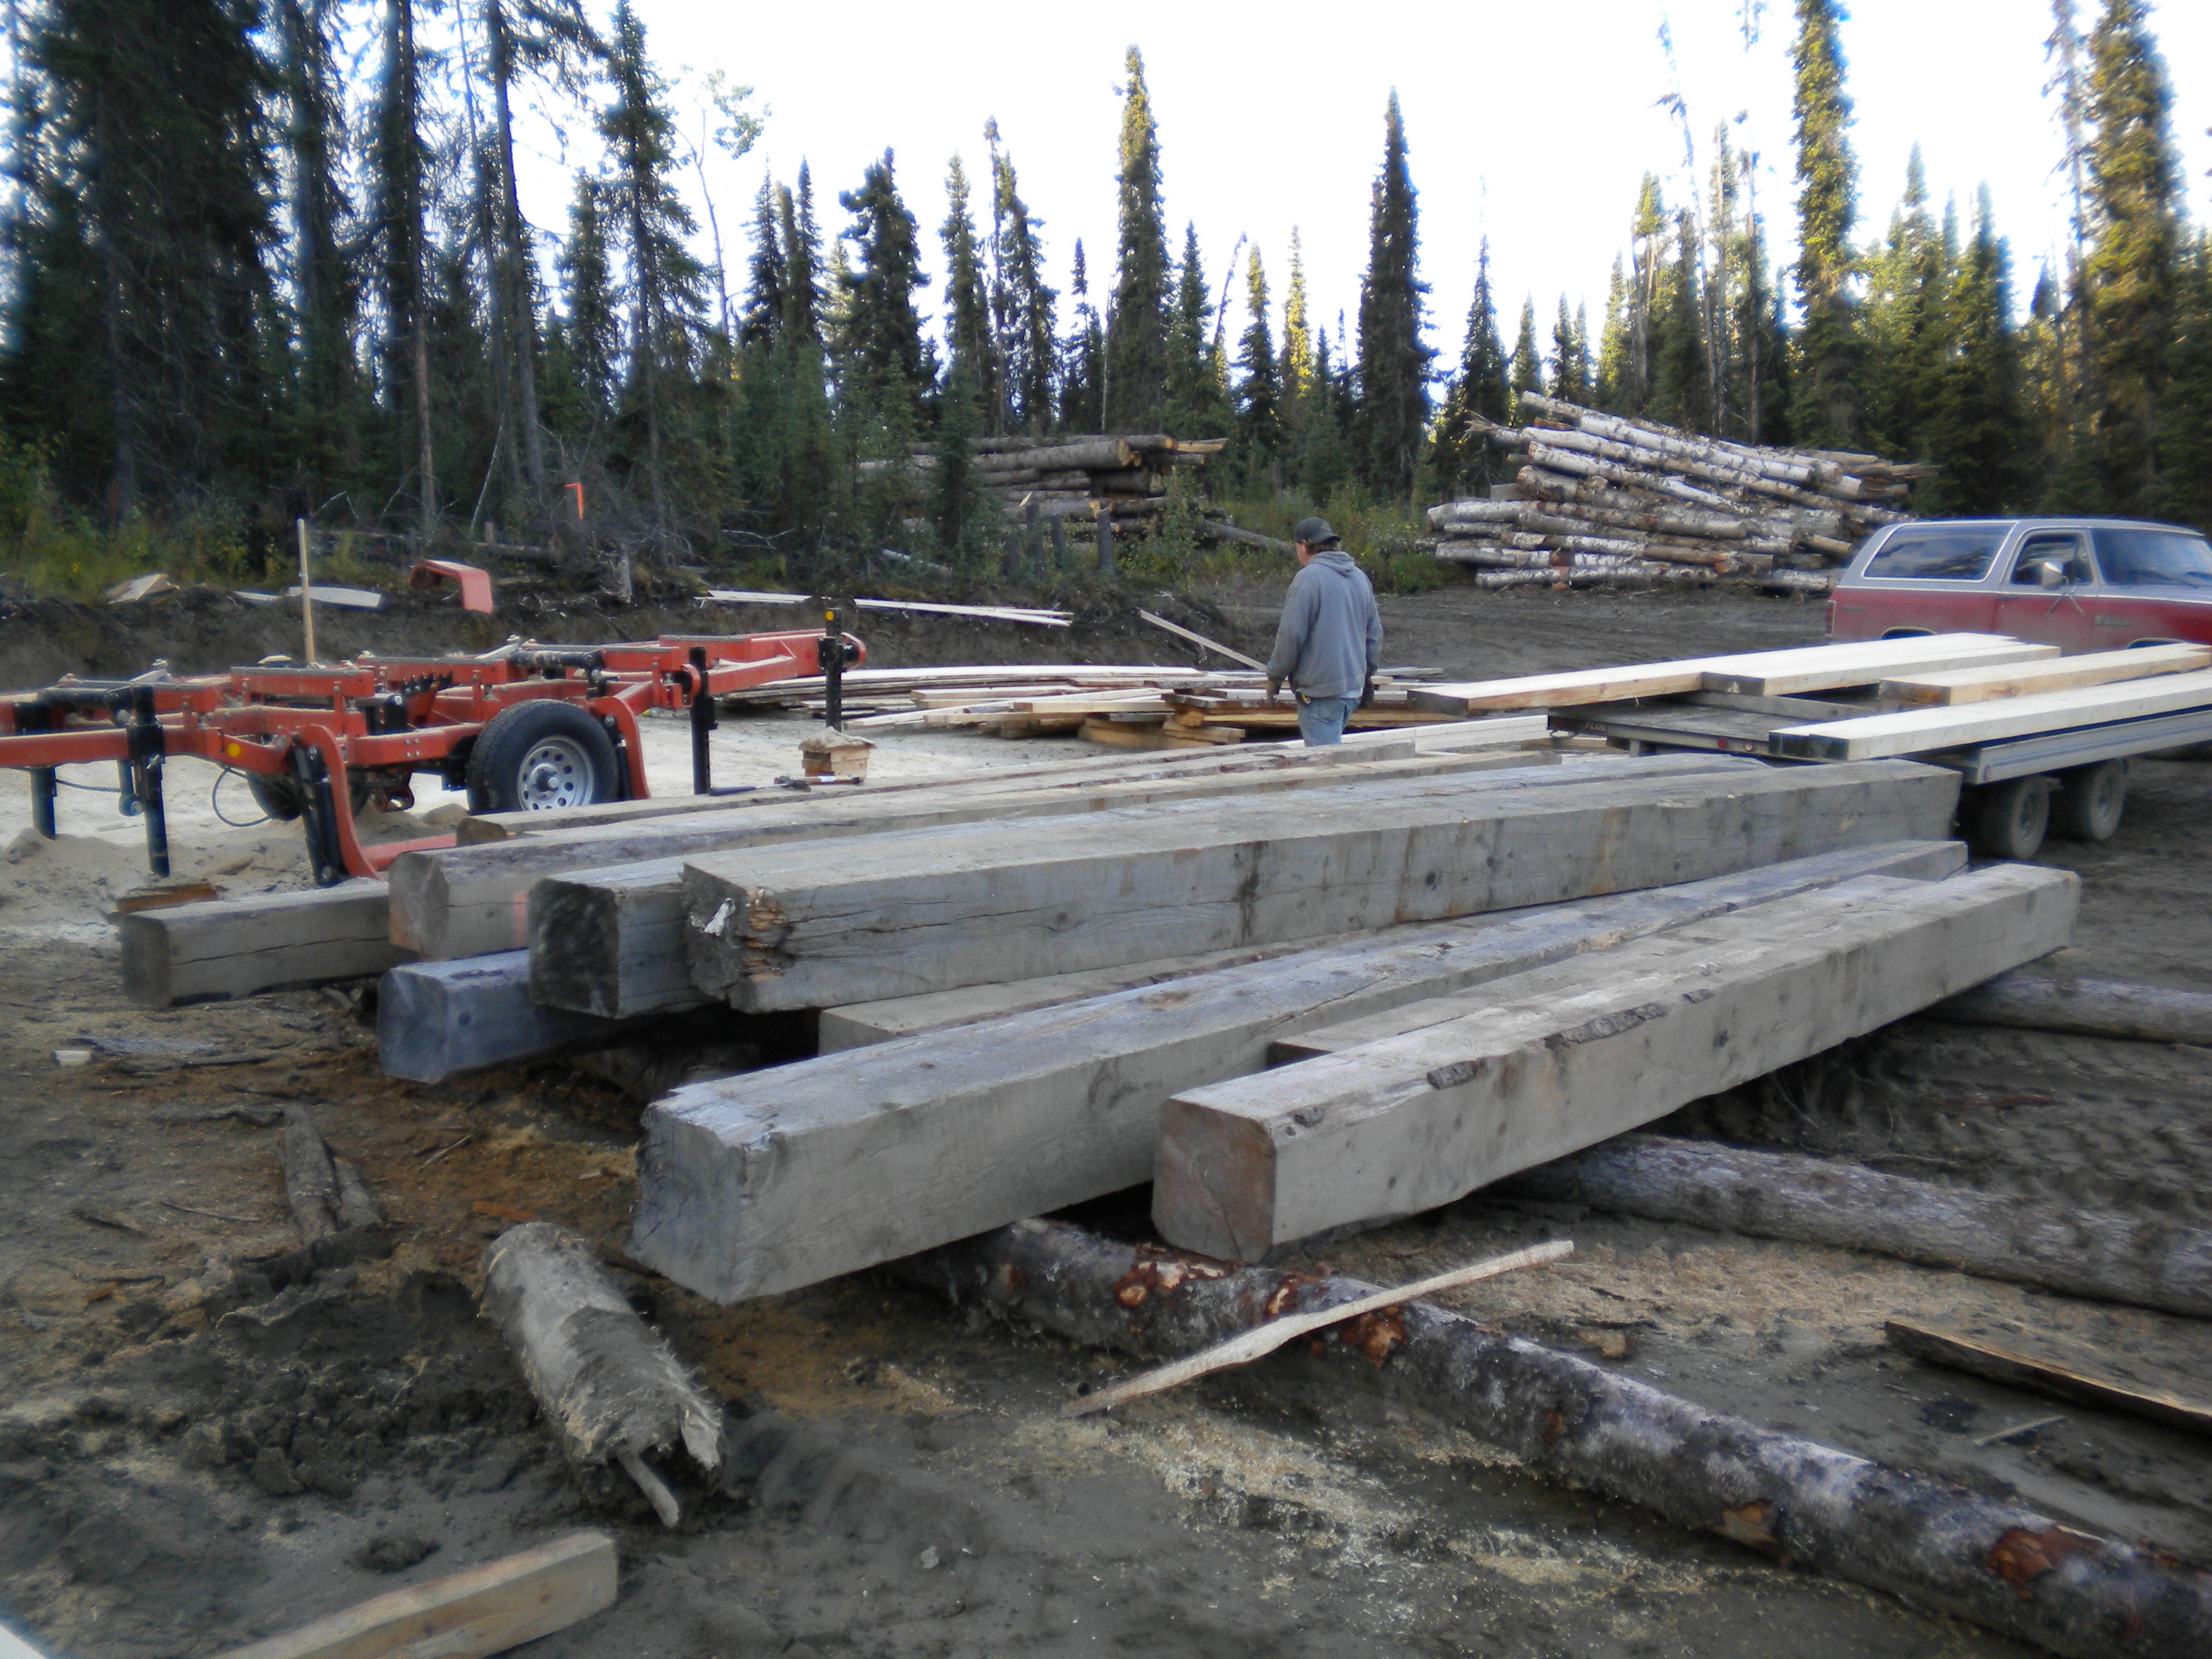
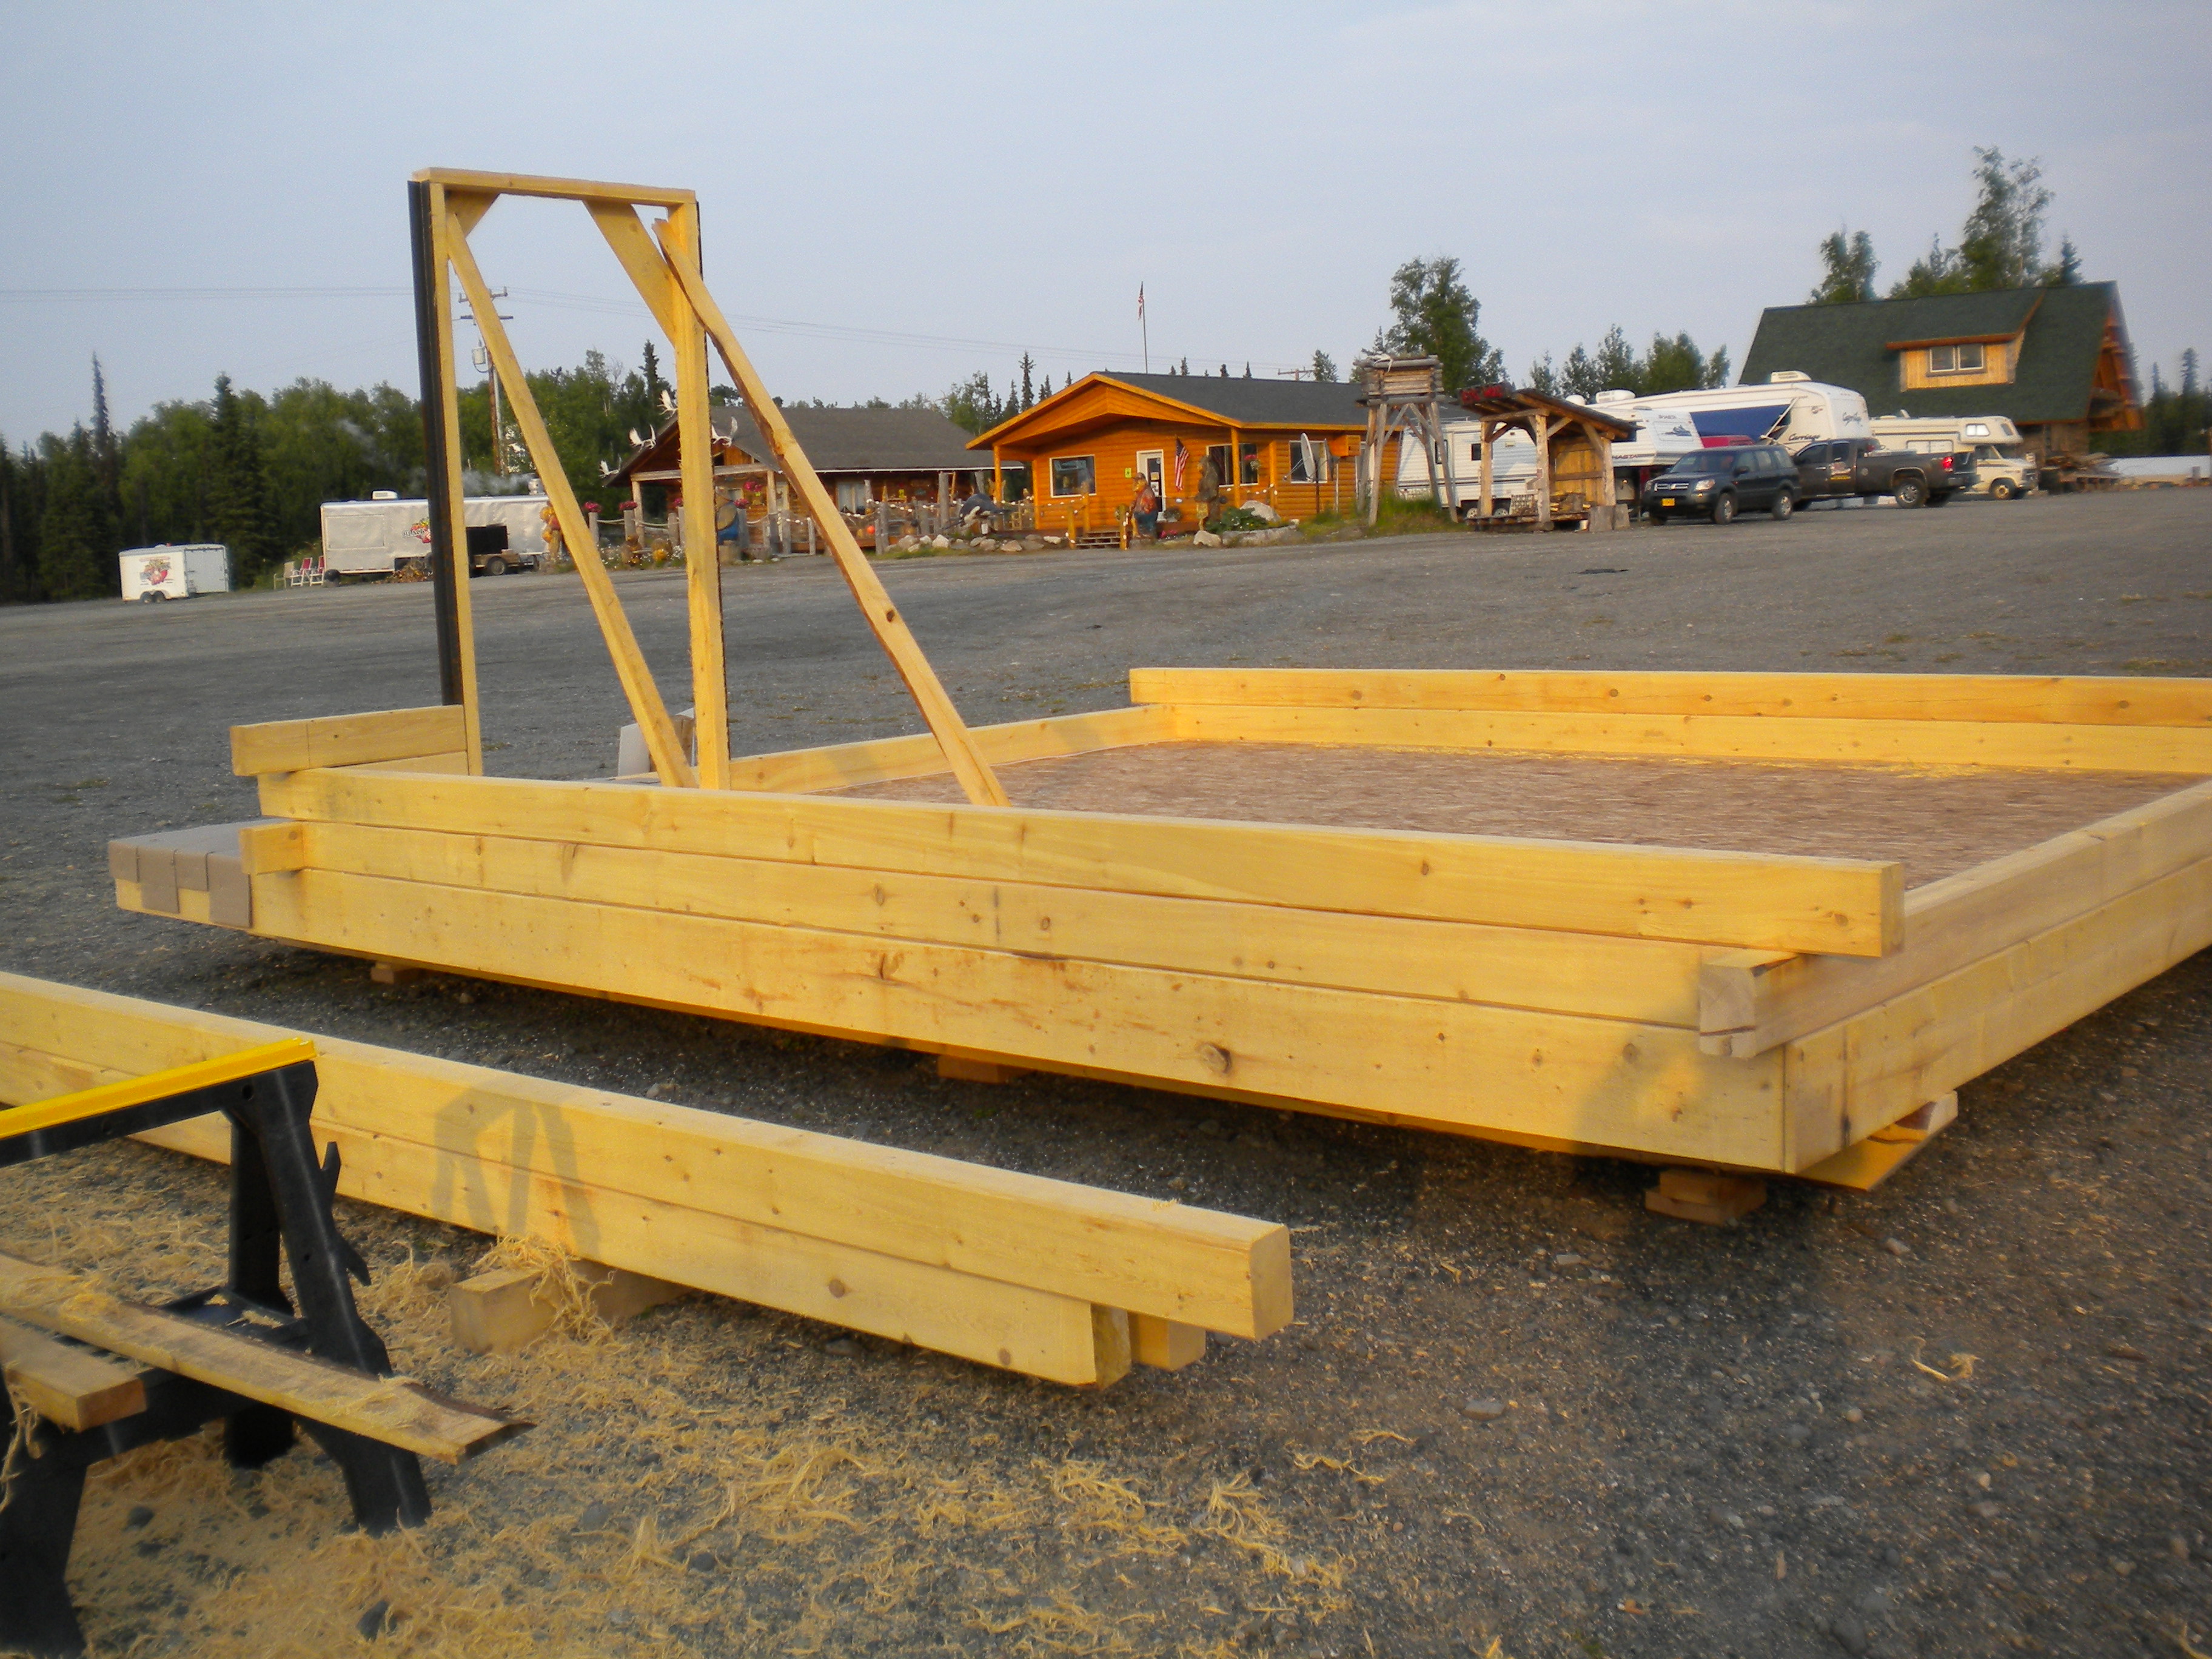
Getting ready to make the first cut.

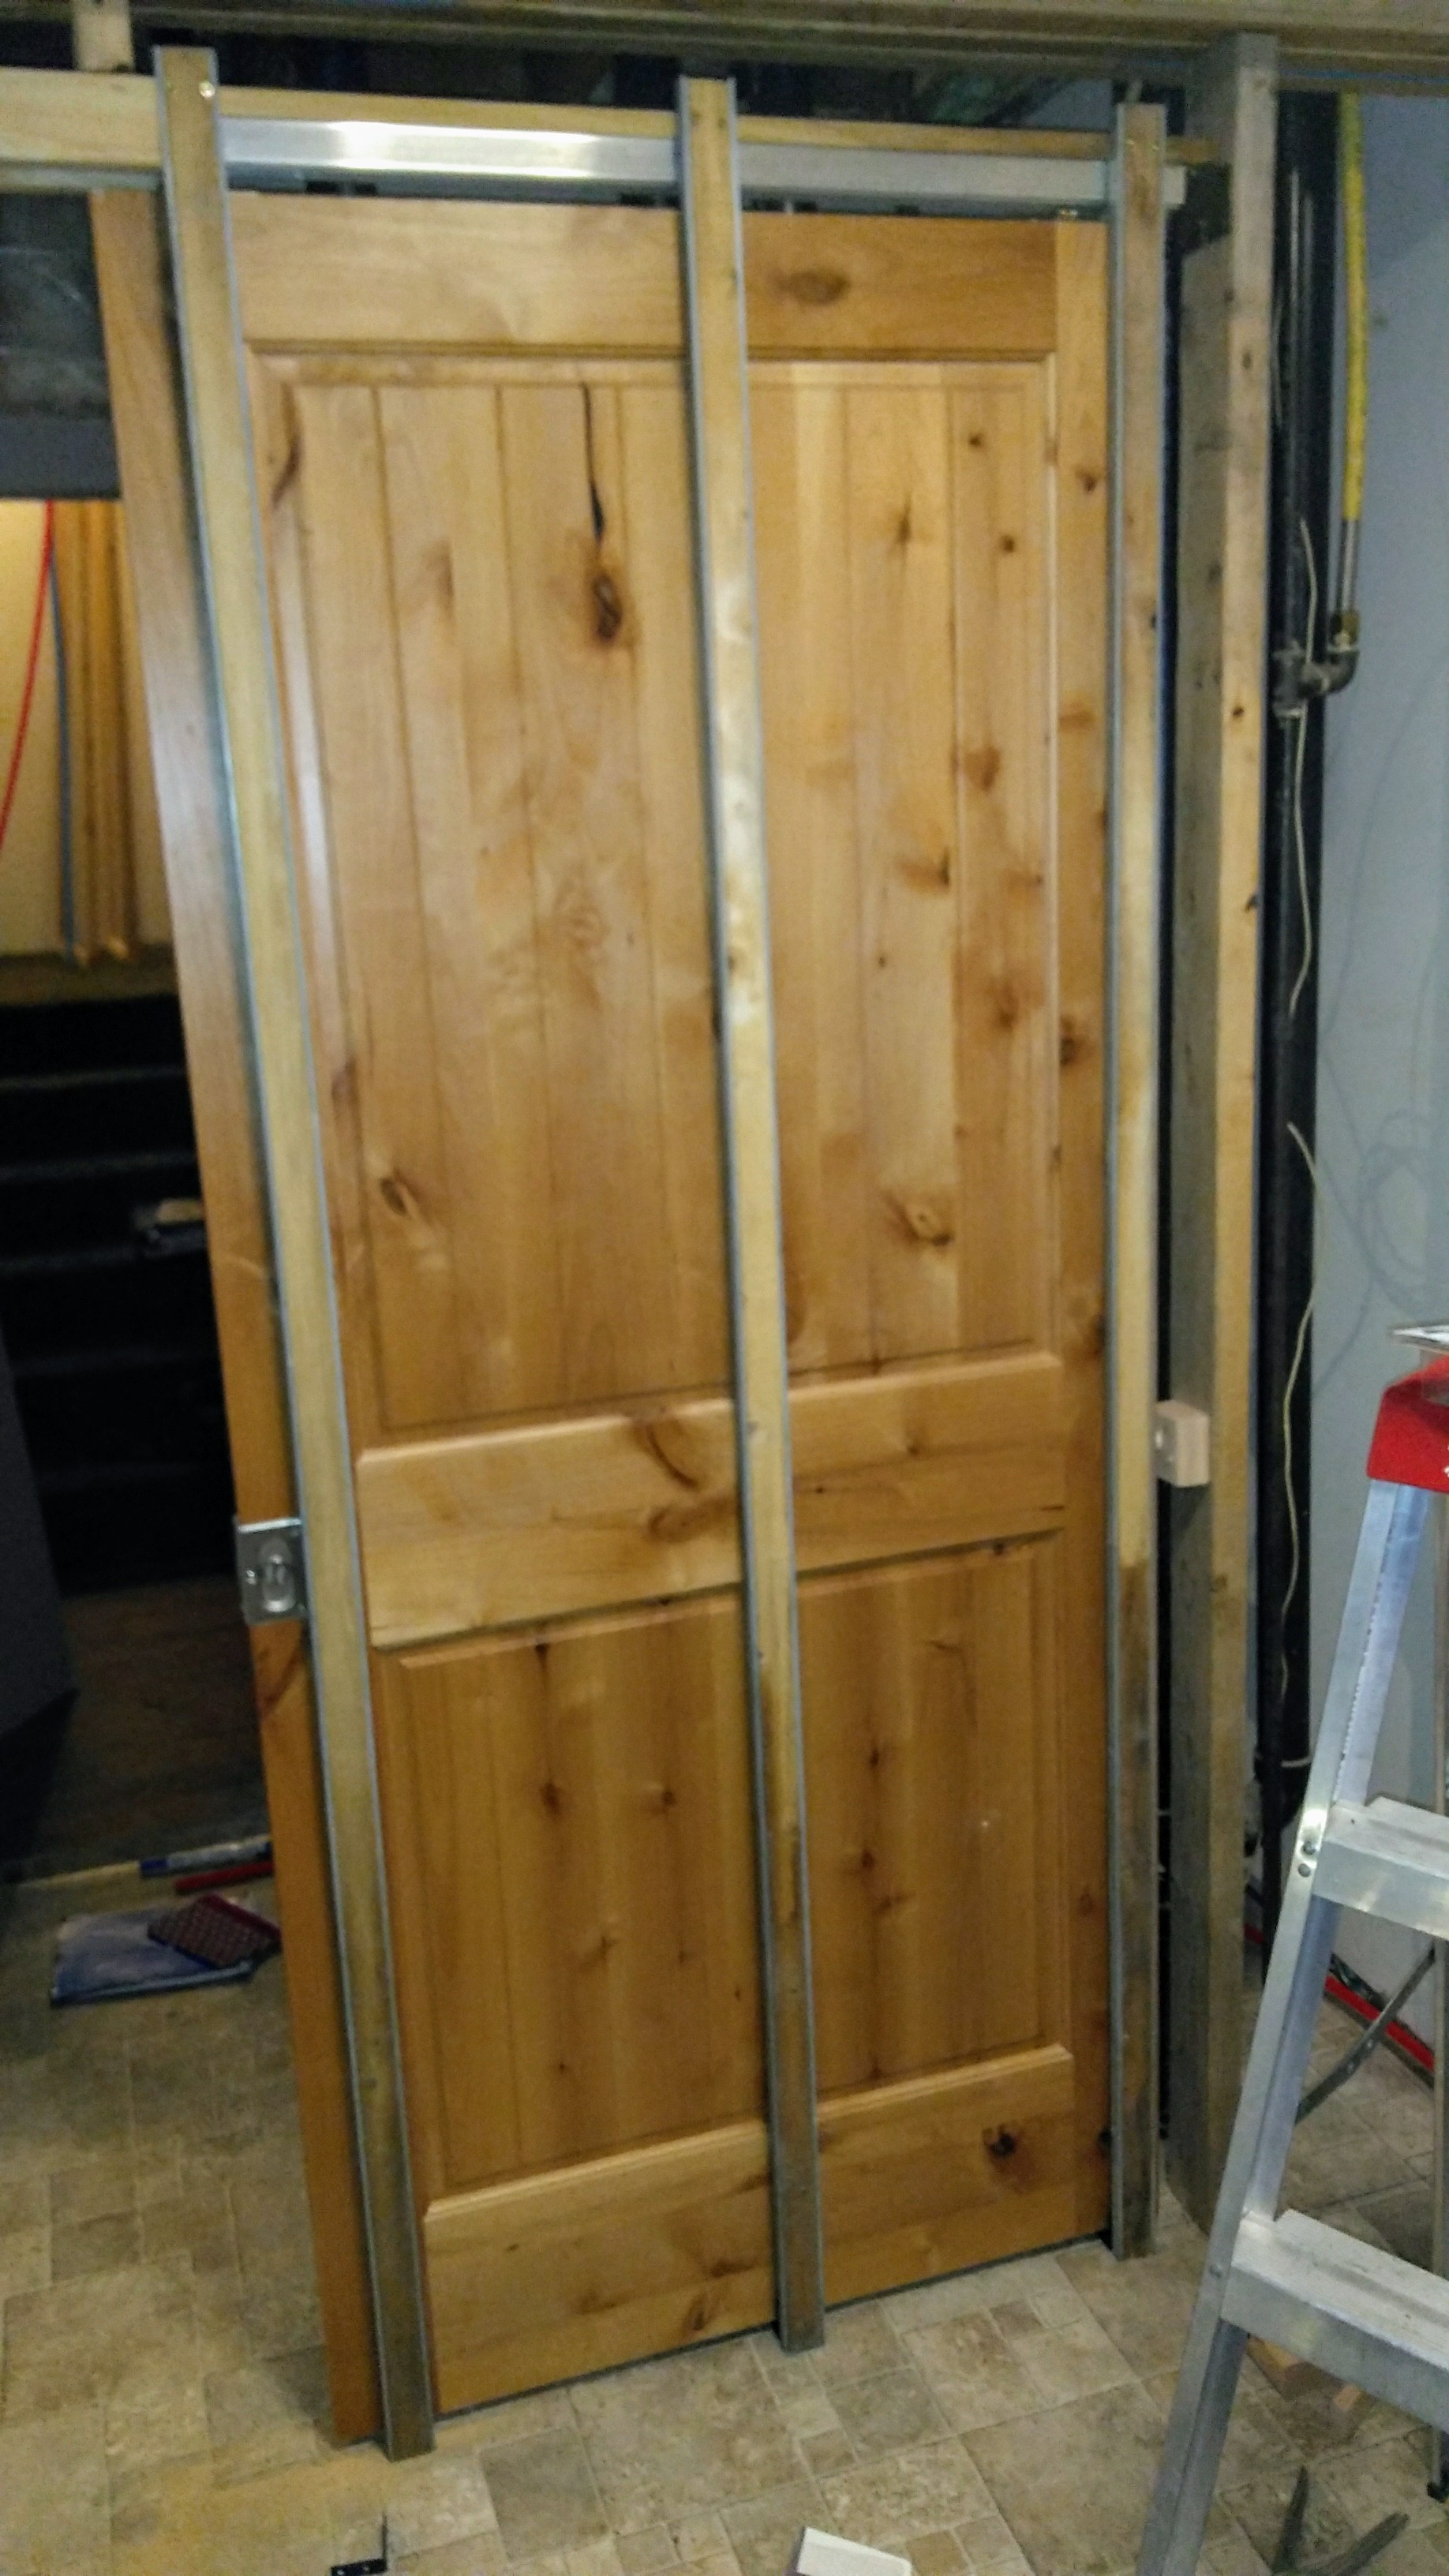
Pocket door in the bathroom.

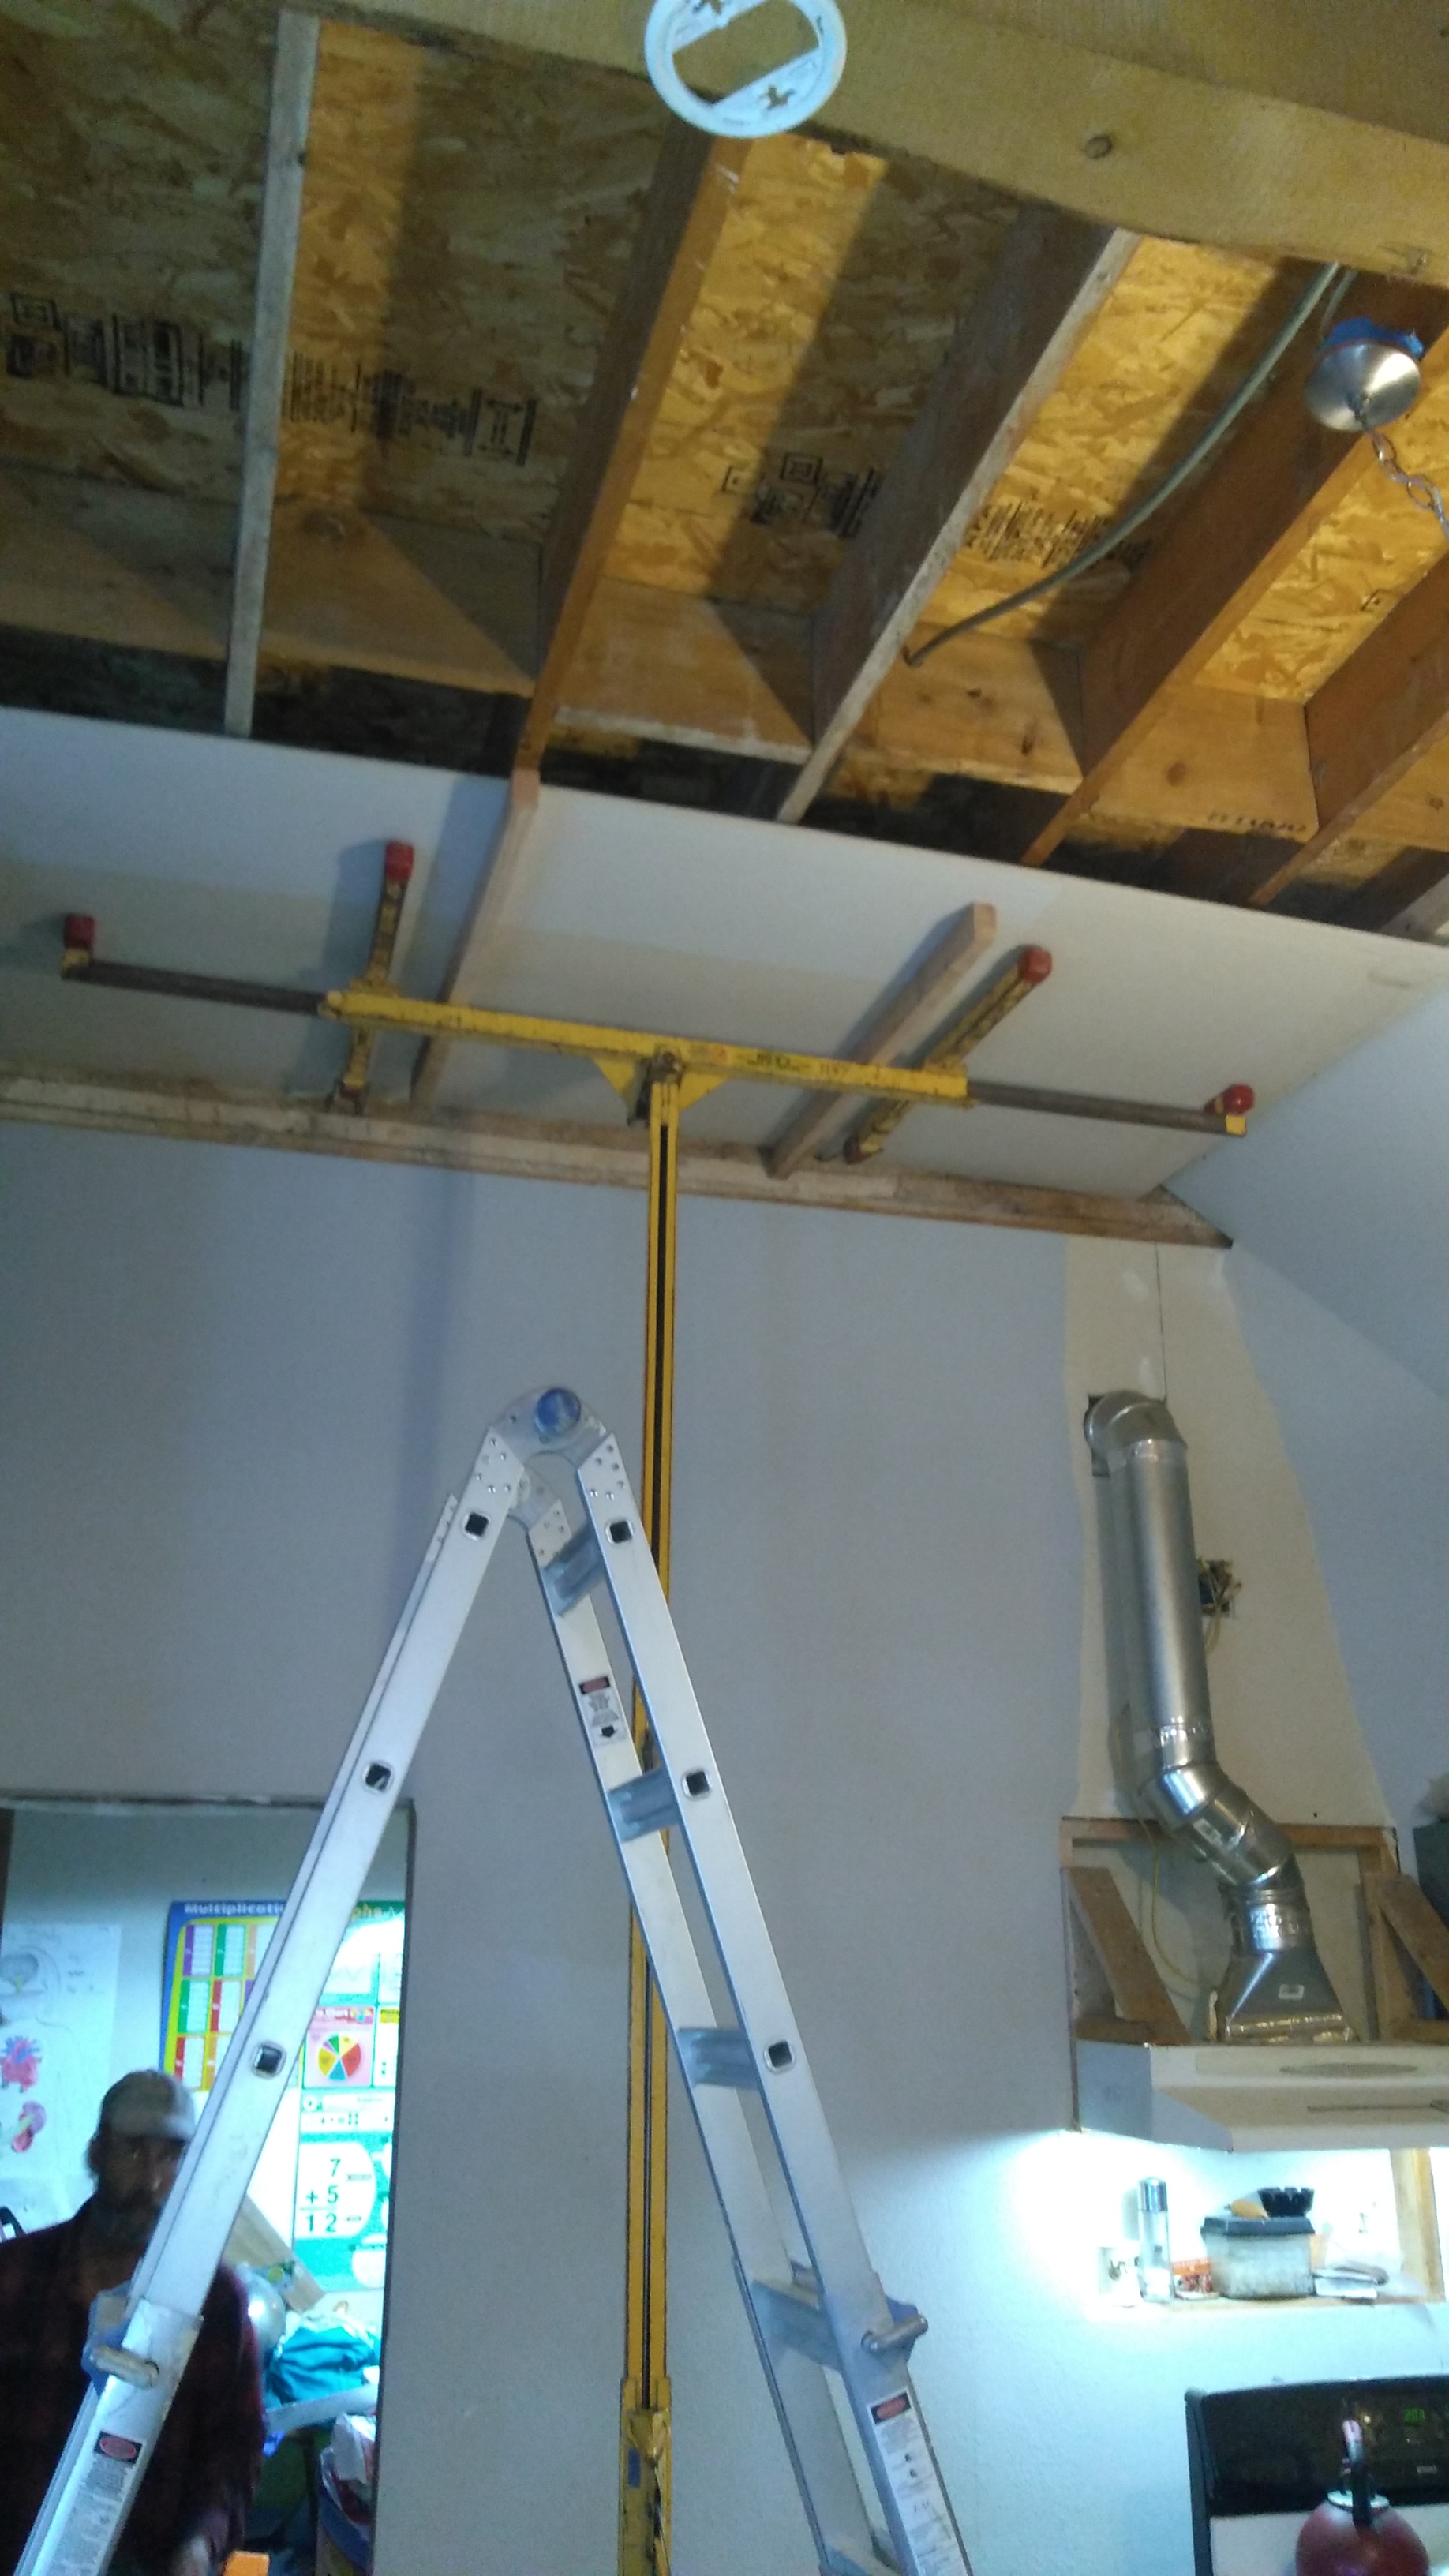
Drywall going up in the kitchen.

My new vessel sink for my beach bathroom.

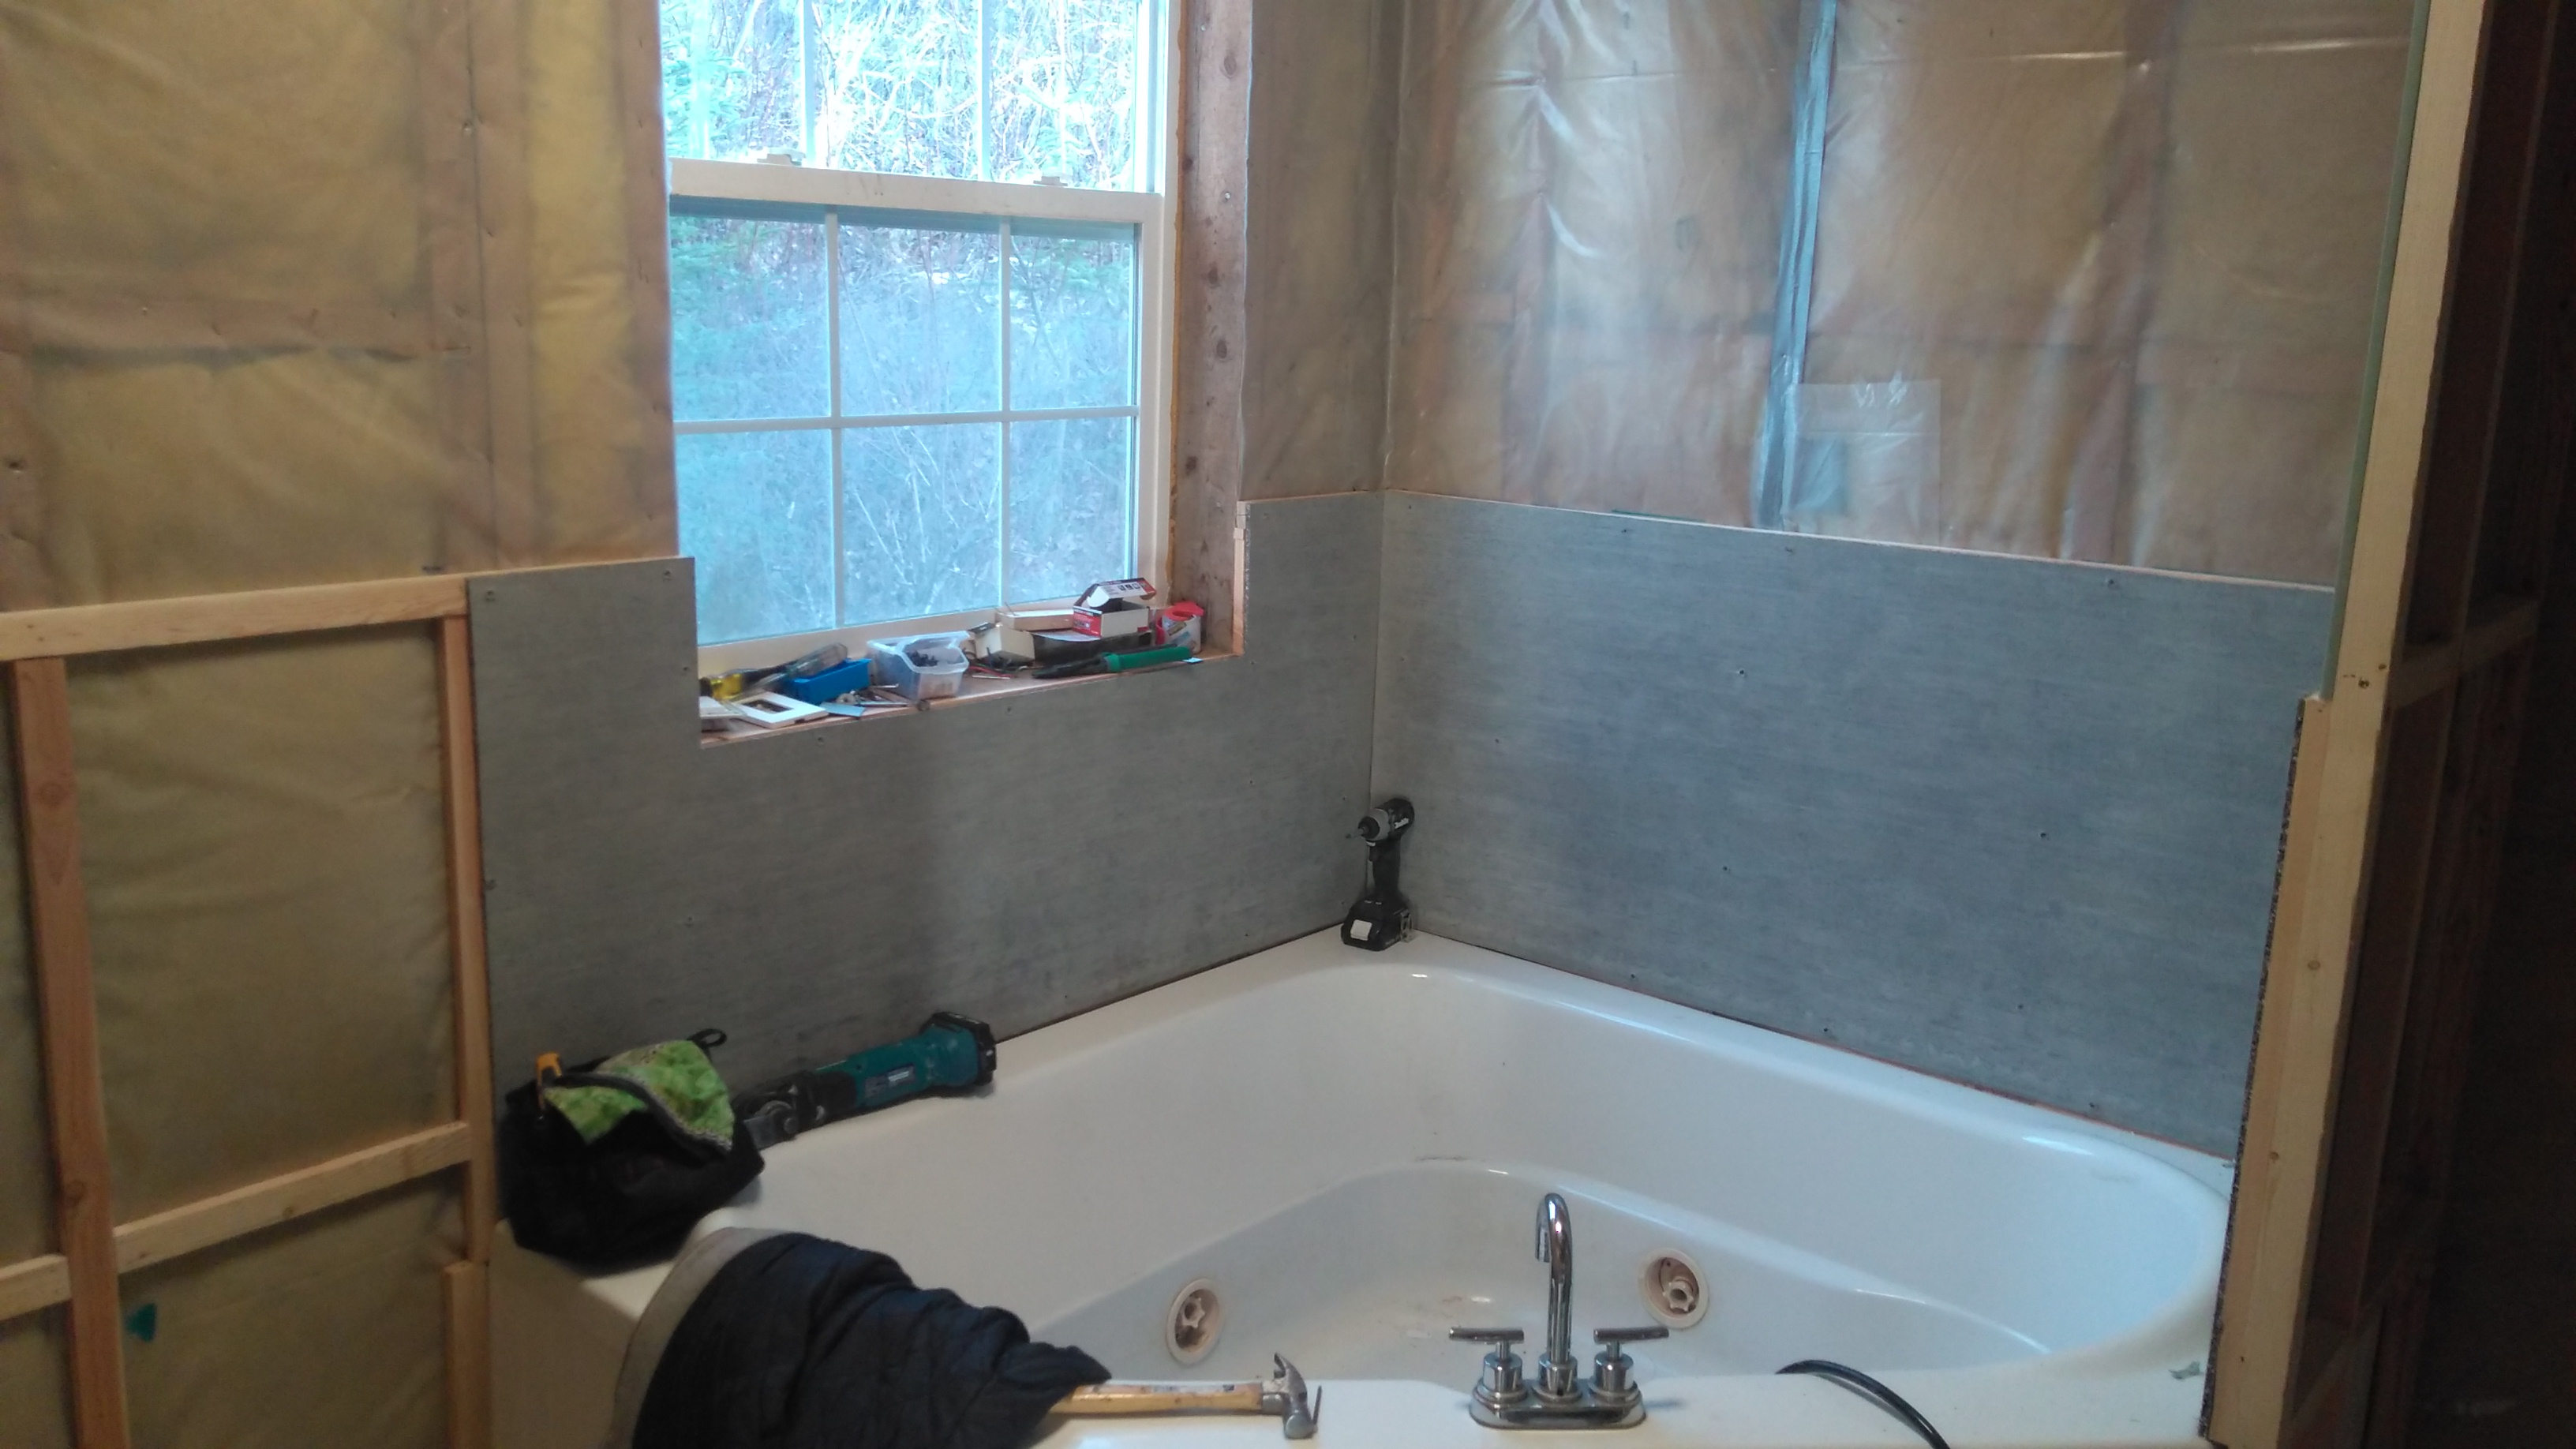
Tile backer board around the tub. A whole lot of prep work.

We’re no where near done, but we’ve got a good start. After winter sets in and our outside work schedule slows down we’ll start working on the master bedroom and front entry again.

Cut logs

Cut logs

Logs are milled into squares or rectangles, as in this case.

Logs are milled into straight sided beams.

The floor and door are framed and the logs are going up.

The floor and door are framed and the logs are going up.

This is a portable rec cabin on skids.

This is a portable rec cabin on skids.

As the courses go up, windows are framed in.

As the courses go up, windows are framed in. Windows and doors are set in with slides that allow the cabin logs to shrink without binding the frames.

Almost to the top of the windows!

Almost to the top of the windows!

Adding roof support beams.

Adding roof support beams.

Oh so close to being done!

Oh so close to being done!

Finished rec cabin, complete with deck!

Finished rec cabin, complete with deck!