
-
What else has been going on around here…
- Waste Steam Diversion on the Kenai March 14, 2026
- Twenty-One January 29, 2026
- Nostalgia January 8, 2026
- We Made It! December 22, 2025
- We Make Do, So Can You! November 2, 2025
Archives
Categories
Moments in Time
July 2026 S M T W T F S 1 2 3 4 5 6 7 8 9 10 11 12 13 14 15 16 17 18 19 20 21 22 23 24 25 26 27 28 29 30 31
Tag Archives: upcycling
Mercy, it’s been a minute since my last Sourdough post. Fishing comes first, that’s my motto. So back to one of my favorite past times…
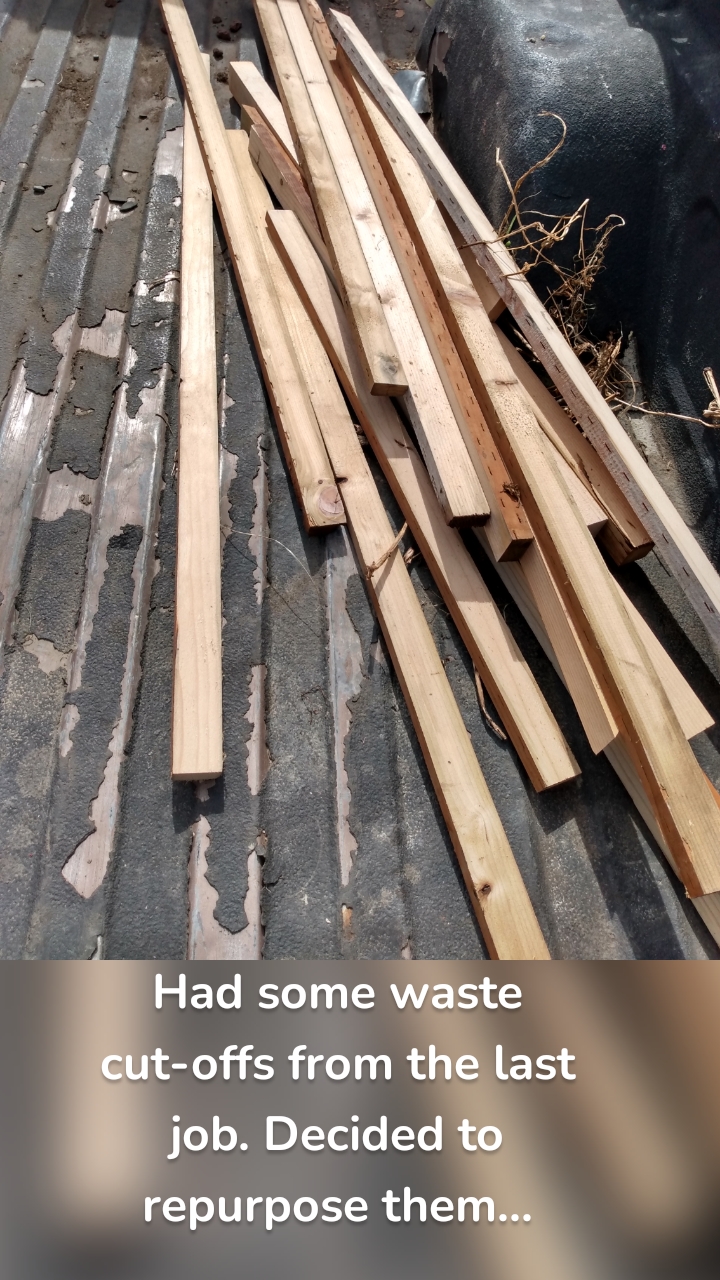
I’m always in the lookout for recycled projects. ♻️ Besides being good for the environment, and usually my budget, it’s fun to turn someone else’s trash to my treasure.
I found this set aside at the dump and figured I could repurpose it as a wood burning chiminea. Which will be just right this fall when it starts to cool down and we need to take the chill off whilst sitting outside.

I started by disassembling the pipe and then removed the tabletop. Once those were apart I struggled with removing the poly weight reservoir from the underside of the pedestal. The 4 bolts holding it in place were rusted and fused, two of them pulled right through and the other two wouldn’t budge. I swear the thing was made like Samsonite luggage. It took a minute… Or 20. Wish I’d had a gorilla.
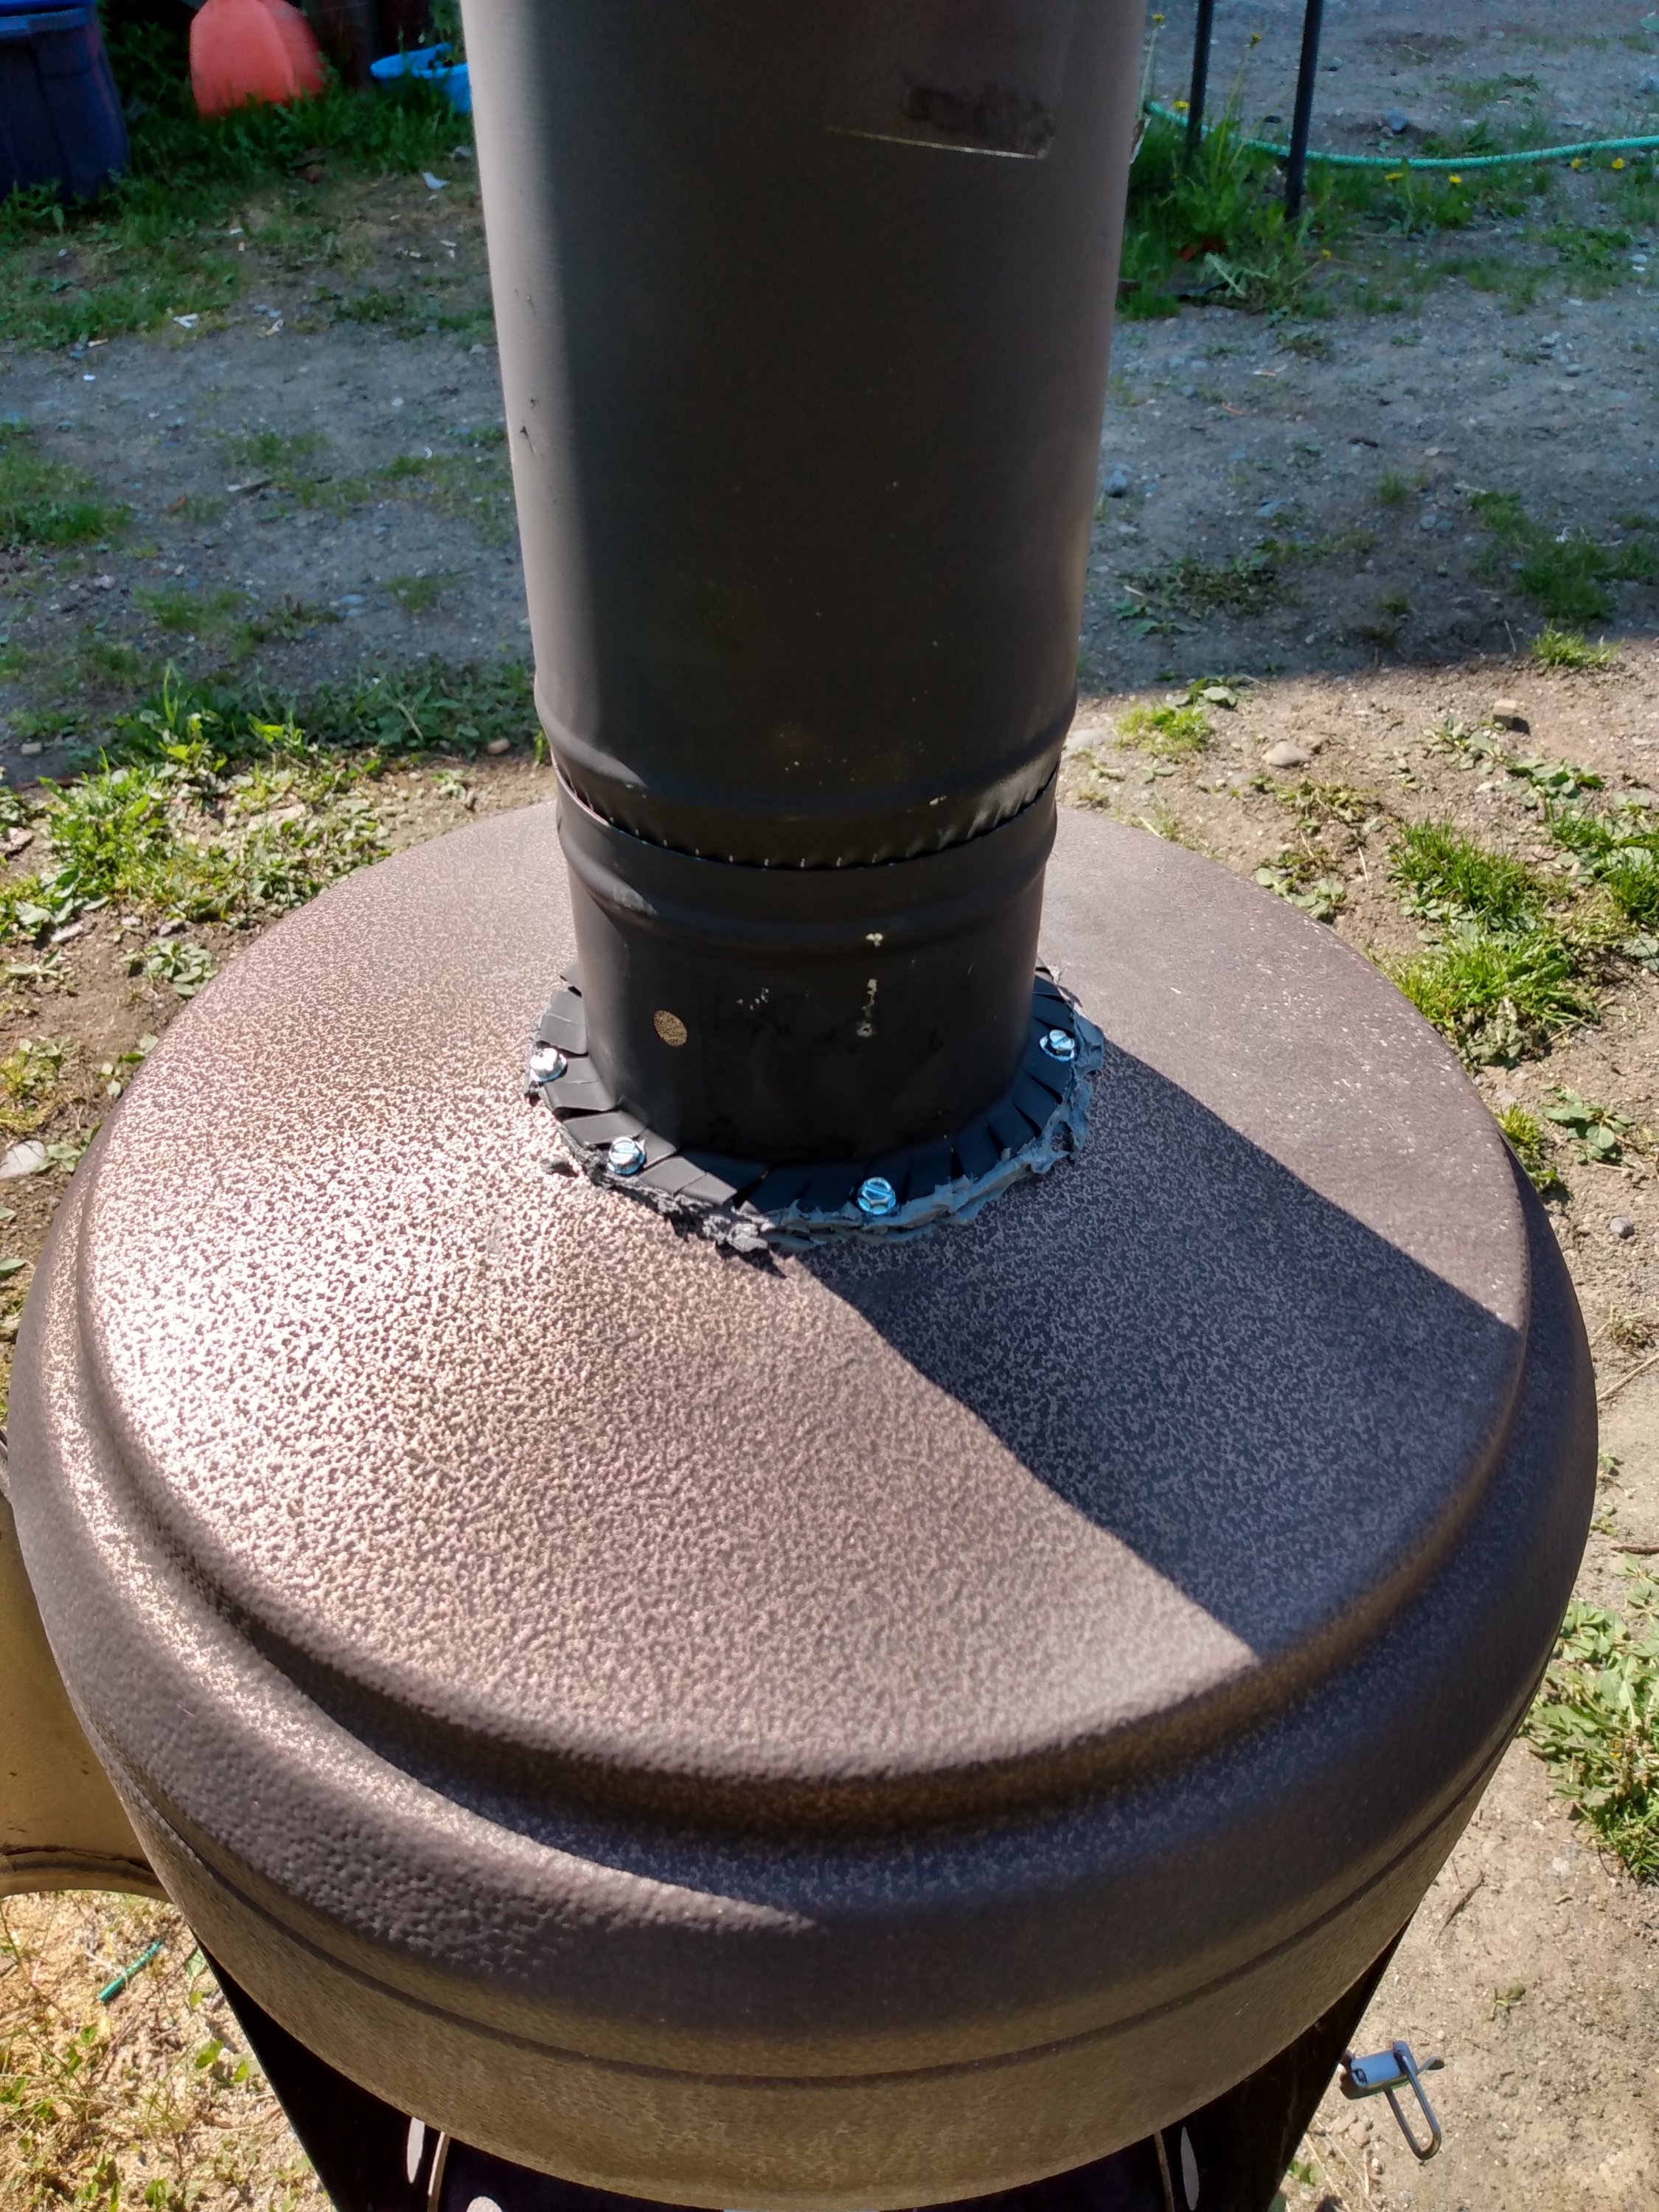
I used a 4″ hole saw and cut out a larger hole to receive the new stovepipe. Side note: A 4″ hole saw is slightly larger than needed for the stove pipe but I didn’t have anything smaller that wasn’t too small, so 4″ it is!
I affixed a starter collar with machine screws and stove mortar.

Then I made a refractory mix with plaster of Paris and perlite to weight the bottom of of the chiminea to keep it from toppling over and give it some heat protection.
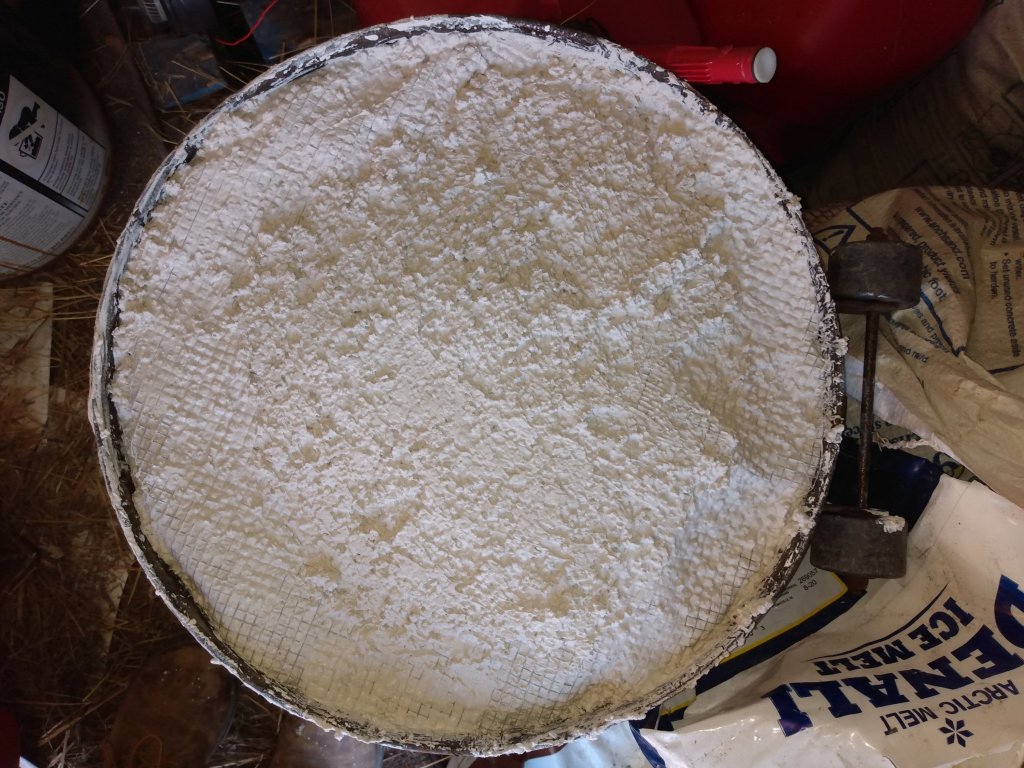
I decided to use a metal bucket as the fire chamber inside the stove to hopefully make it last longer. It was Dean’s idea and I went with it. For the bucket I poured refractory mix in the bottom about 2 inches deep and drilled air holes around the bottom. It fits nicely inside the unit.
I let it dry thoroughly before it’s first firing, about 8 days. First fire at the beach, it works!

The refractory mix in the bottom helps insulate the unit quite well. There’s no heat exchanged at all. I used a piece of white paperboard to close a central hole when I poured the mix in. The paper is still intact and not even singed. I honestly think I could use it on a deck. I’m very happy with my landfill rescue.
Many a year ago I made my Dad a crocheted rag rug. I thought it was pretty awful, I told him to put it in the outhouse! Fast forward to last year and I found that same rug in the sauna, he still had it and it was still in one piece!
So back to today, I have all of these clothes out at the cabin that are well-worn by Dad. Not really worth giving away and besides, I’m such a sentimental sap I would rather keep them. So I decided to make a rug out of his sweatshirts, he had so many of them!
Three sweatshirts worth braided and stitched together, working on the next set of three now.
I love the look of a braided rug. And this one is so thick and comfy to stand on! The only drawback is that they take a long time to create. I’ve got several hours and trips out to the cabin invested in this rug already and I’m only half done at this point.
I decided that I didn’t want to wait for a rug and opted for a woven rag rug made from T-shirts like this one that Dad has had for 20 years or so…

A blast from the past!
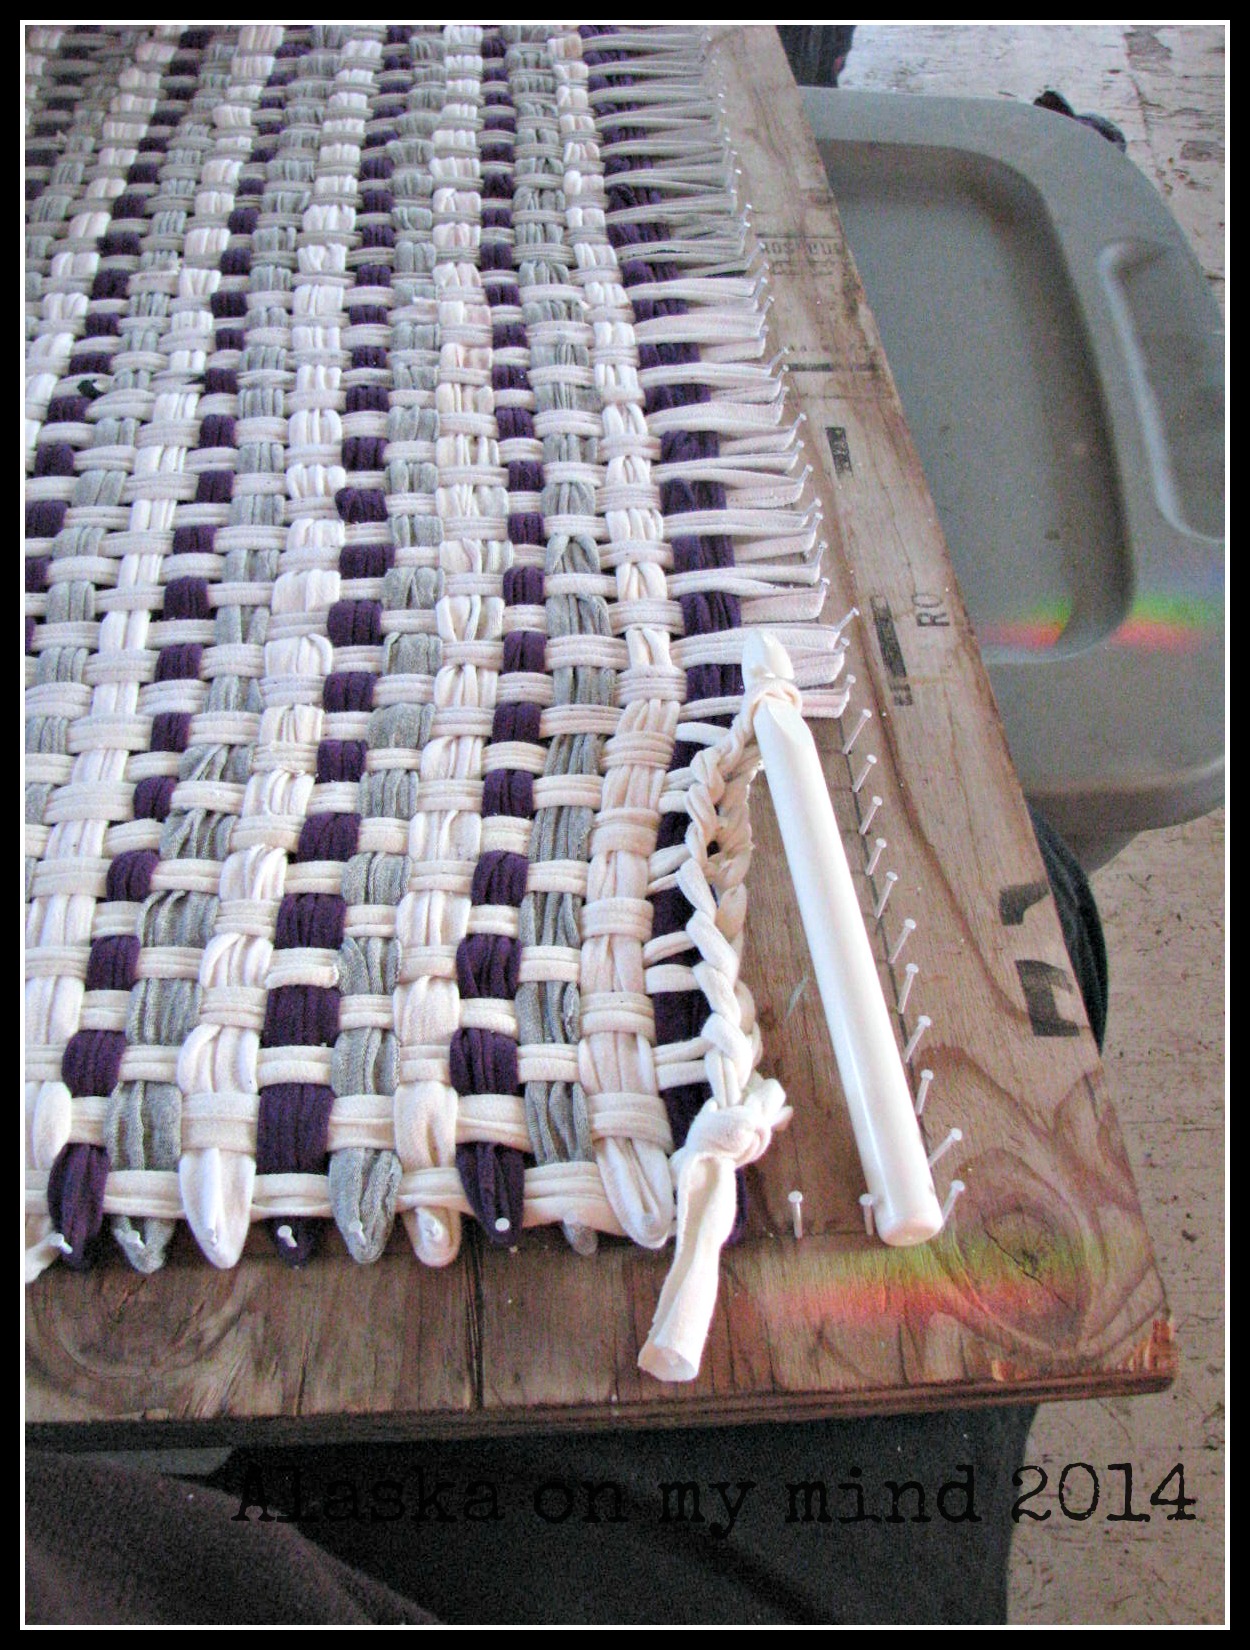
And I made a simple loom from a piece of plywood I found out in the shed and some paneling nails…

My simple loom, laying out a pattern with T-shirt loops.
Then I went to work wrapping and weaving, and in about 3 hours time I was ready to finish the ends….
Crocheting the edge of the rag rug.
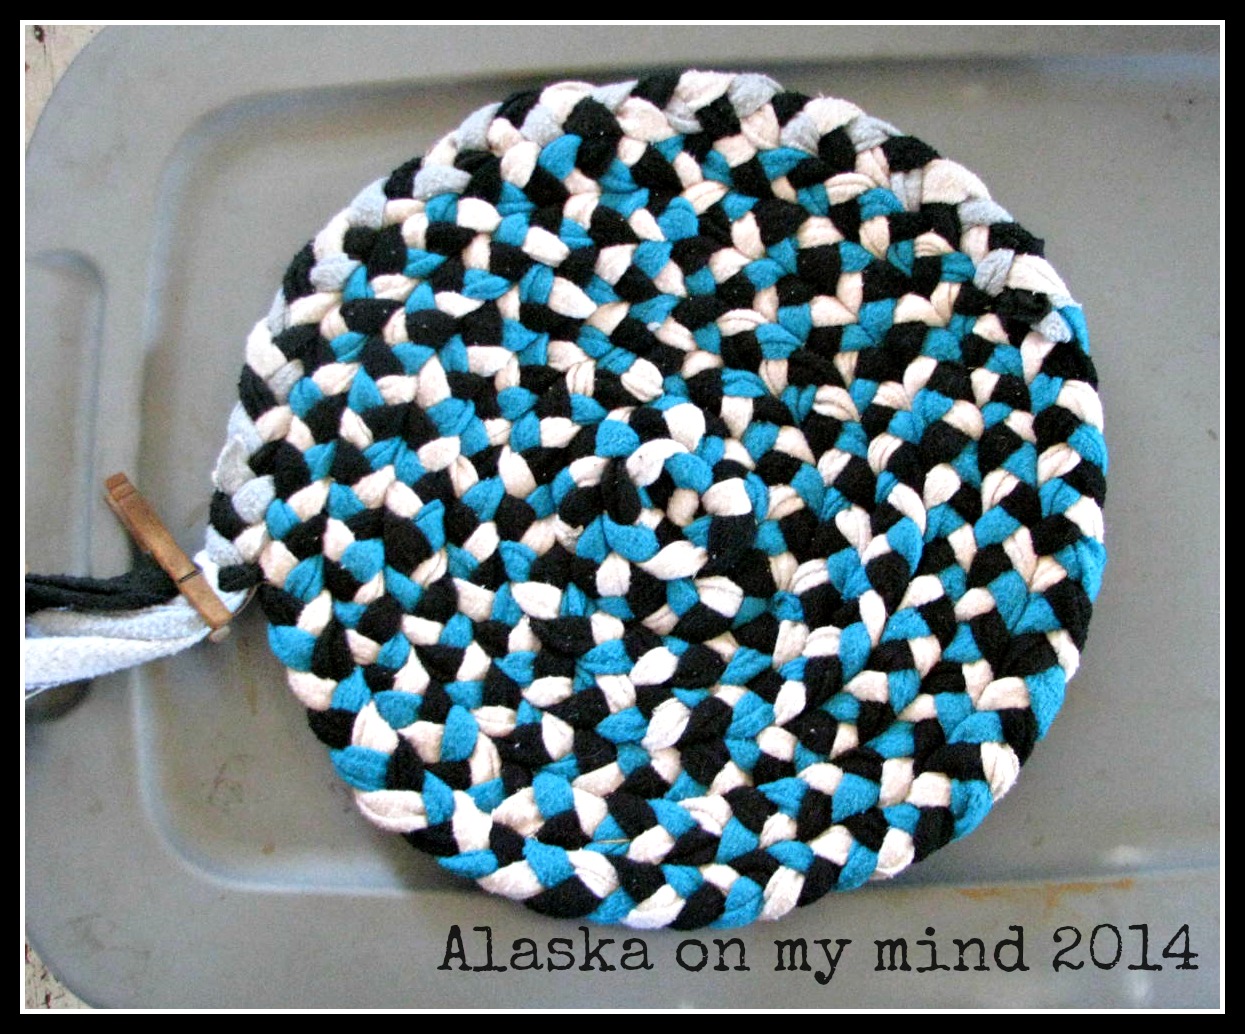
And then I had a finished rug for my little kitchen floor!

All done! 6 T-shirts worth in this rag rug.
Now if I can just get my braided rug finished….
